Create Your First Article Hero Image with IBM Bob and PhotoCraft
Start with a prepared canvas, give Bob a short article brief, and keep the text and shapes editable for your next change.

I stumbled over PhotoCraft (which is an amazing story on it's own) and realized it is supposed to be agent friendly. So I thought, let's solve something I run into very often: hero image design as a developer. Maybe I can get Bob to create them for my articles with this, without actually using an image model or sorts.
PhotoCraft is an image editor that Bob can control through MCP, the Model Context Protocol. That gives Bob access to the editor's commands, so it can open a document, add some lettering, move the layers around, and export an image. I still have the document afterwards, with those layers in it. If I want a different headline or a little more space between the words, I can open it in PhotoCraft and make that change, or ask Bob to do it.
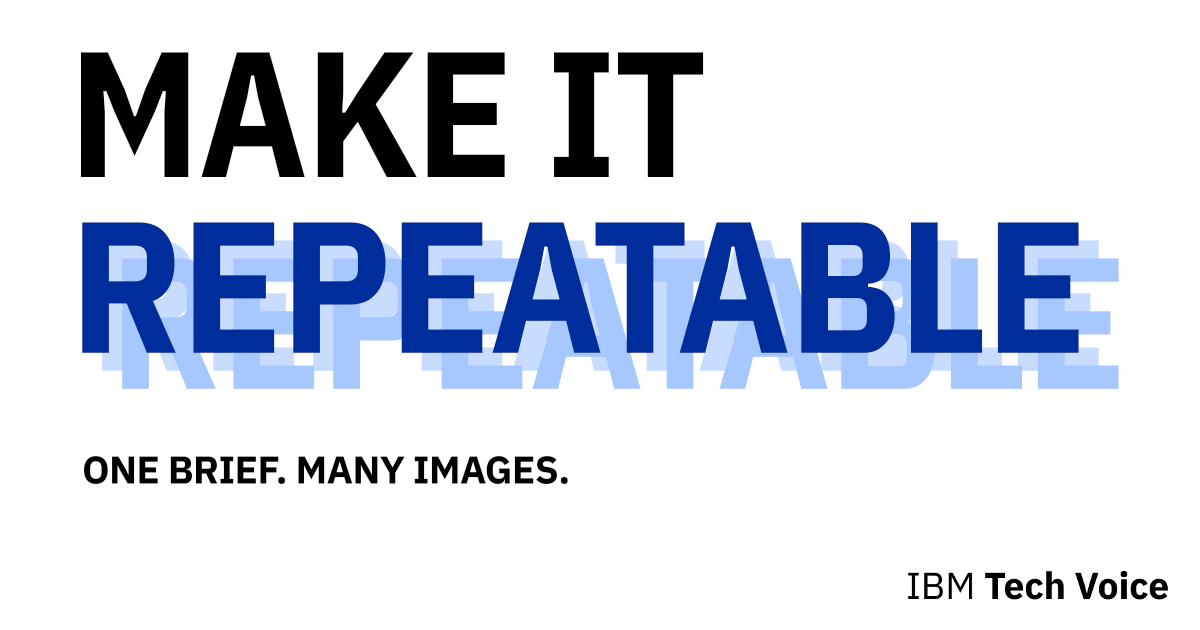
The image above is one of the examples I made. I wanted to keep the same branding across my articles and give Bob a different subject each time, while keeping enough control to change the result afterwards. So I settled on three files for each article: a 1200 × 630 PNG to upload, a PhotoCraft .pcraft document for later edits, and a short text file with the alt text. The branding was the part I could prepare once and reuse, so I started there.
Start with the brand kit
I used our IBM Tech Voices brand kit as the starting point. Tech Voices is a group of IBM colleagues nominated for their technology advocacy, and we share experiences and collaborate on topics in an internal Slack group. We also have a common brand kit for our materials. Having that kit meant I already had colors and a wordmark to give Bob, along with examples of how we use them.
The colors are black, white, Blue 80 (#002d9c), and Blue 30 (#a6c8ff), and the examples use layered bands, waves, and repeated slats. I took that repetition into the lettering you'll see below. A few copies of the same word, moved slightly behind the main one, can suggest movement even though we're making a static PNG. It also gave me a way to connect the image to the idea of repeating the same process for another article.
Before adding any lettering, though, I needed a place for the IBM Tech Voice wordmark. I put it on the right of a white footer and kept its original lettering, including the singular “Voice.” That gives me the same small signature on each image, while I use the kit's four colors for the new text and shapes above it.
I gave that footer 90 pixels of height and left 32 pixels at each side, which leaves the upper 540 pixels for the article image. These are my choices for this example. To prepare the document, I cropped the wordmark from the kit, copied it into a white 1200 × 630 canvas, and resized it in proportion to 260 pixels wide. I centered it vertically in the footer, locked its layer, and added an empty group called Topic artwork for Bob's text and shapes.
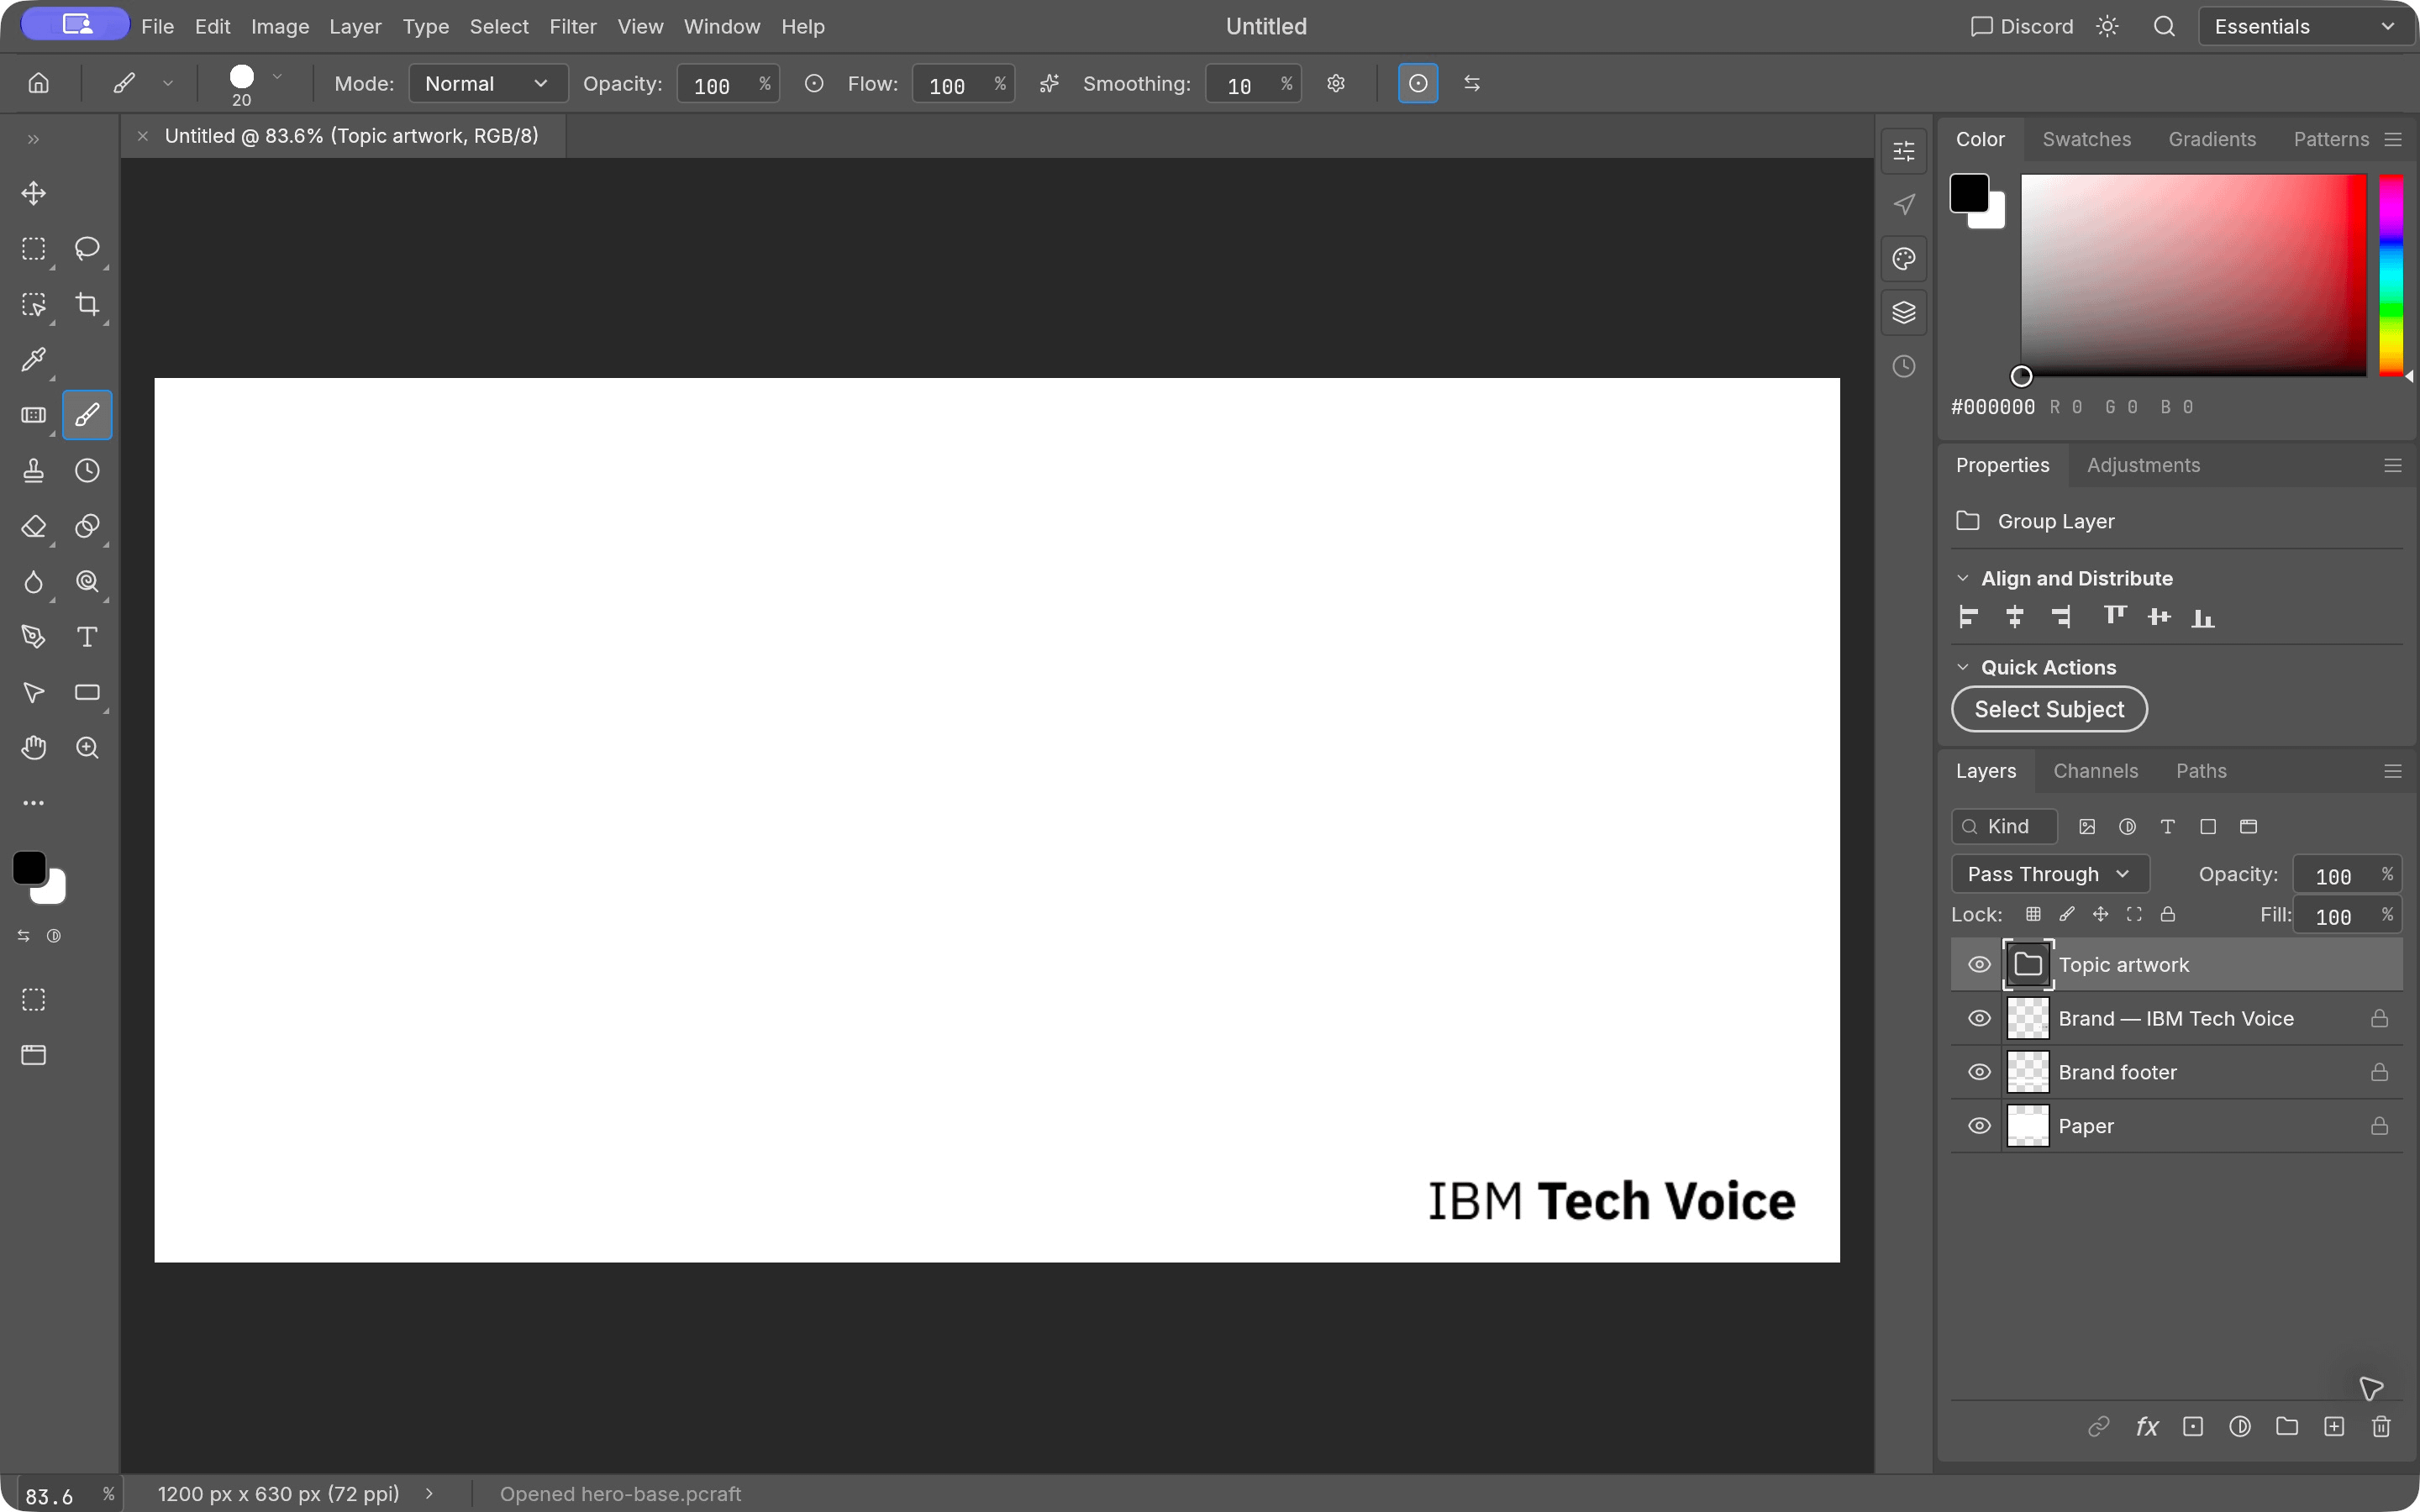
You can start with the prepared hero-base.pcraft. Keep it in the skill's assets folder, as shown below, and save each article image under a new name. If you want to use your own branding, prepare the same kind of base with your wordmark and keep the Topic artwork group for the parts Bob will create. Once the base is ready, we can connect Bob to the editor and give it that document to start from.
Connect Bob to PhotoCraft
I used PhotoCraft v0.2.0 and Bob IDE 2.2.1 on macOS. PhotoCraft's control bridge connects Bob's MCP server to the running application, so you can watch the canvas change as Bob edits it. I also used BobShell 2.0.5 to recreate the first typography example from its saved recipe. Both connect to the same PhotoCraft application through that bridge.
Open photocraft-techvoices-hero as its own project in Bob and configure PhotoCraft as a project MCP server, following Bob's MCP documentation. Keep PhotoCraft running with its control bridge enabled and give it access to the project folder containing the skill and images. Check that photocraft appears as connected in Bob's MCP settings, then use Agent mode. Opening this folder as the project also lets Bob find the .bob/skills directory we'll use in a moment.
For the large lettering, I chose IBM Plex Sans Bold and IBM Plex Sans Condensed Bold. PhotoCraft uses the installed fonts when it creates editable text, so install those faces from IBM's Plex releases before asking Bob to create the image. The footer wordmark is already an image in the base, so it stays as it is while Bob adds the new lettering above it.
Put the publishing instructions into a skill
With the editor connected and the base ready, I could give Bob a prompt describing an image. I also wanted to use this for the next article, though, and most of the instructions would stay the same. The image still needs the same dimensions, the same footer, and both an editable document and a PNG. I put those instructions into a skill so I can keep using them when I start a new conversation.
A Bob skill is a folder with a SKILL.md file and any supporting files Bob needs. In mine, the base document sits beside the brand assets, and the instructions tell Bob how to use them. When I ask for techvoices-hero-image, Bob can read those instructions and open the base. My prompt can then describe the article and the picture I have in mind, while the skill carries the decisions I've already made about the format.
I named the skill after the task I want to ask for and put it under .bob/skills/techvoices-hero-image. Keeping the assets in the same folder means I can copy the whole skill to another project later. Here's the folder layout:
.bob/skills/techvoices-hero-image/
  SKILL.md
  references/
    brand.md
    photocraft.md
    typography.md
  assets/
    tech-voice-wordmark.png
    hero-base.pcraft
    hero-base.png
In SKILL.md, I ask Bob to read the brief, open the base, build the picture in editable layers, and show me the result before saving it. I also describe what to keep unchanged and where to save the files, so Bob has those instructions throughout the task. You can start your SKILL.md with this compact version:
---
name: techvoices-hero-image
description: Create or revise an editable 1200 by 630 Tech Voices hero in PhotoCraft from an article title and summary.
user-invocable: true
---

Use the connected photocraft MCP server and the supplied brand base.

1. Read the article title and summary, or the local draft the user names.
   Choose one visual idea that fits the subject.
2. Inspect the live session and discover the commands you need with
   command_list. Check installed fonts before creating text.
3. For a new image, open this skill's assets/hero-base.pcraft with doc_open.
   Confirm the active document and find its layers by name. For a revision,
   open the existing image document the user identifies.
4. Add editable Shape and Type layers inside Topic artwork. Keep new artwork
   in the upper 540 pixels and important text at least 32 pixels from the sides.
   Use black, white, Blue 80 (#002d9c), and Blue 30 (#a6c8ff).
   Add a headline only when requested. Use separate text layers for echoes.
5. Preserve Paper, Brand footer, and Brand — IBM Tech Voice.
   Keep the bottom 90 pixels white and leave the wordmark unchanged.
   Use only the supplied wordmark; do not add other logos.
6. Inspect the layers and take a preview with ui_screenshot. Check overlaps,
   lettering at 300 pixels wide, and the footer. Correct problems before saving.
7. Create output/ if needed and choose an unused basename. Save the native
   document with doc_save and the PNG with doc_export. Never overwrite the base.
   Report export warnings, reopen with doc_open, and check dimensions and layers.
8. Write output/<basename>-alt.txt with one or two sentences, at most 60 words,
   describing the actual image. Return links to the PNG and native document.

Resolve assets relative to this skill folder and send PhotoCraft file paths
relative to its configured project root. Discover command parameters rather
than guessing them. If an edit fails, inspect the document before retrying.
I ask for named, editable layers because I want to keep changing the image after the first attempt. For example, I can ask Bob to move one of the pale blue copies behind a word while leaving the main word where it is. The preview and save instructions then give me a chance to look at that change and keep it as another version. In the full skill, I keep the longer command and font-placement notes in the reference files, where Bob can read them as it needs them.
Once the folder is in place, check Bob Settings → Skills for techvoices-hero-image with Workspace scope. If you're using the supplied project, the folder is already there. You can now give Bob a title and a short summary, or point it to a local draft and ask it to read the article first. I'll use the title and summary here so you can see the whole request.
Create the first image
For this article, I tried three images built around large lettering. I started with Make it repeatable, because that's what I want from the skill and it's short enough to read on a small article card. I put MAKE IT in black on white, then made REPEATABLE larger in Blue 80 with two Blue 30 copies behind it. Those copies give the static image a kinetic typography look, and ONE BRIEF. MANY IMAGES. underneath connects it to the article. You can ask Bob for that arrangement with this prompt:
/techvoices-hero-image
Create a kinetic typography hero for “Teach IBM Bob to Create Tech Voices Hero Images with PhotoCraft”.
Summary: developers turn a brand kit into a reusable Bob skill that produces editable article artwork through PhotoCraft MCP.

Use a white artwork field. Put MAKE IT in large black IBM Plex Sans Condensed Bold near the upper left. Make REPEATABLE the dominant word below it, spanning most of the width in Blue 80. Add two Blue 30 copies behind it, offset progressively down and right. Keep the front word crisp.
Place ONE BRIEF. MANY IMAGES. as a smaller black line near the lower left. The composition must read as MAKE IT REPEATABLE at 300 pixels wide.

Keep the words as editable Type layers inside Topic artwork. Preserve the entire footer and its wordmark. Preview before saving. Save PNG, native document, and alt text under a new output/make-it-repeatable basename.
The request describes the picture, and Bob uses PhotoCraft's text commands to build it. type.create adds the lettering, and each pale blue copy gets its own Type layer inside Topic artwork. That gives us several parts we can change independently. You can select one copy in PhotoCraft and move it, reduce its opacity, or edit its text while leaving the other layers alone.
I've left Bob some room to choose the placement in these prompts, so your result may look a little different. To start with my exact arrangement, open the saved Make it repeatable document. You can also give Bob its recipe, which contains the text, fonts, and layer transforms, and ask it to apply those values to a fresh base. Use the same IBM Plex fonts for the same text measurements.
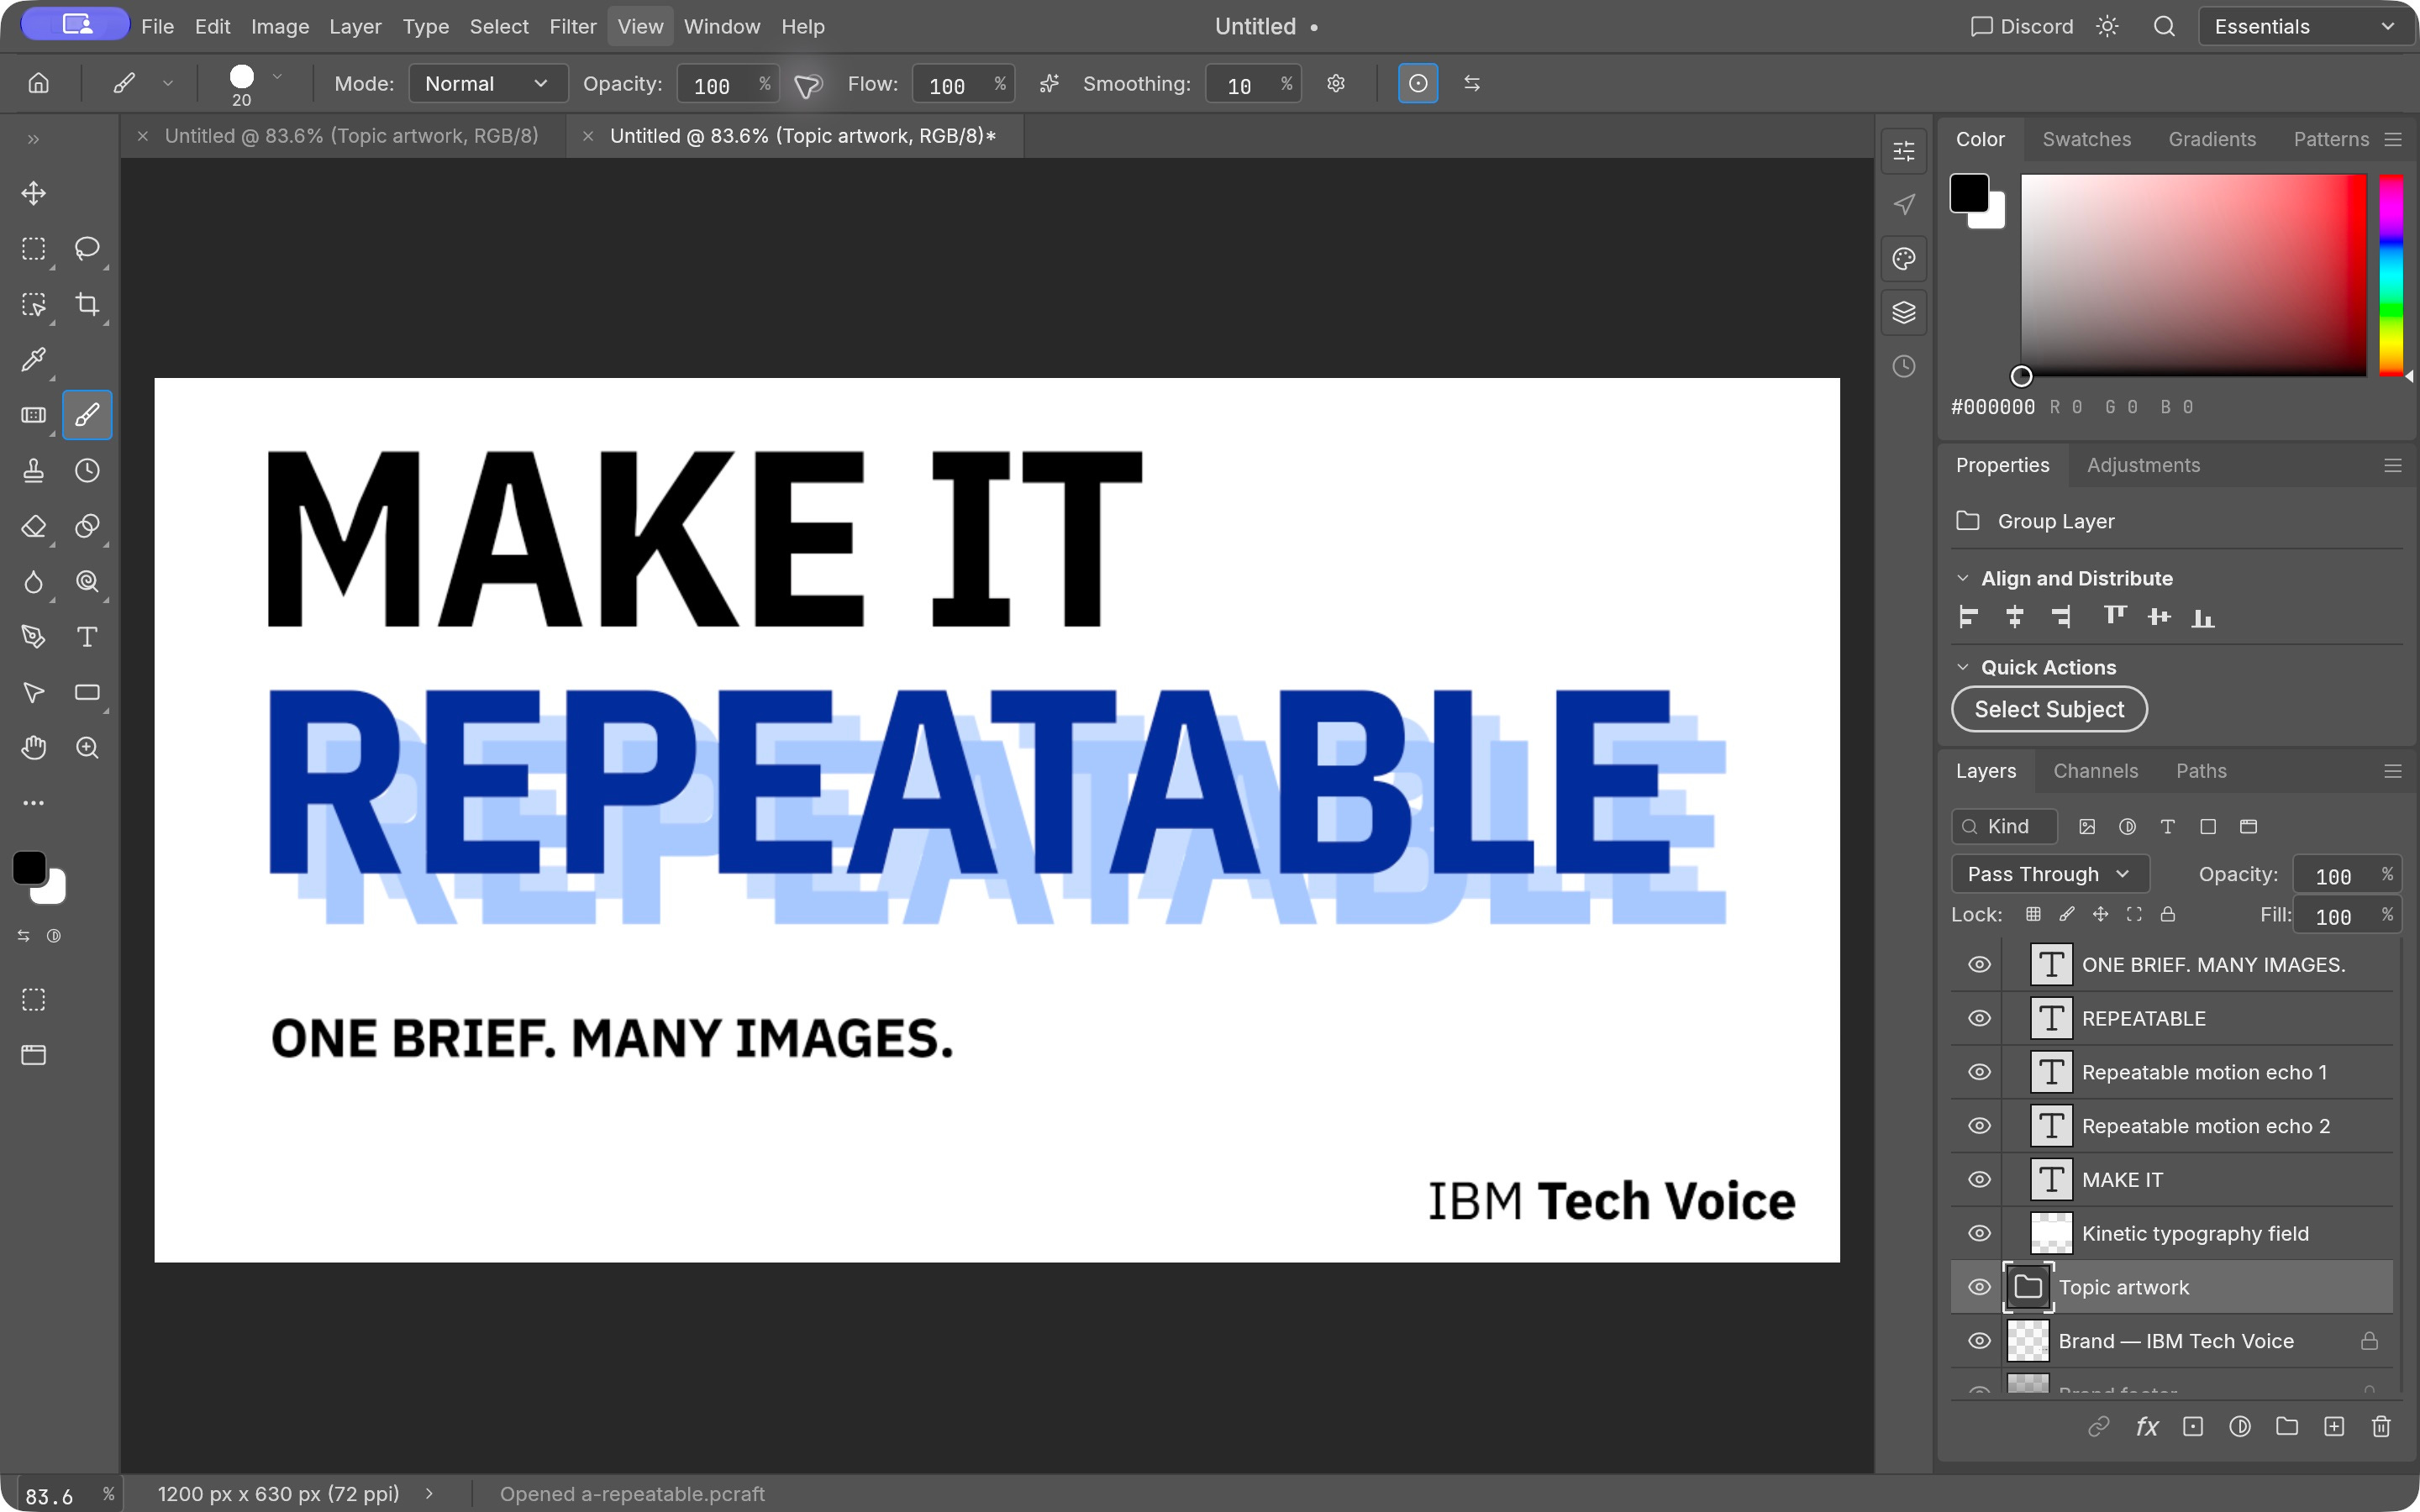
Once you have an image you want to keep, Bob uses doc_save for the editable .pcraft document and doc_export for the PNG. The preview includes the PhotoCraft window; the PNG contains the image you'll upload with the article. PNG export flattens the layers, so keep the native document as well. That's the file we'll return to when we want to try a larger word or change the arrangement.
Try another composition
With the base and skill in place, I could try another idea while keeping the same footer. For the second image, I used BRIEF, BUILD, and PUBLISH on a blue background. I made BUILD the largest word and tilted it slightly upward, with BRIEF above it and PUBLISH toward the lower right. The words follow the steps I take from an article idea to something I can publish, and the prompt gives Bob that reading order:
/techvoices-hero-image
Create a kinetic typography hero for an article about teaching IBM Bob to create repeatable Tech Voices artwork with PhotoCraft.

Use a solid Blue 80 artwork field. Put BRIEF in Blue 30 at the upper left. Make BUILD a much larger white IBM Plex Sans Bold word across the middle, rising about six degrees from left to right. Add two translucent Blue 30 copies behind BUILD, offset down and right. Put PUBLISH in Blue 30 at the lower right, using IBM Plex Sans Condensed Bold for both smaller words.

The reading path should move through BRIEF, BUILD, PUBLISH. Keep editable Type layers, preserve the footer exactly, and preview at card size. Save PNG, native document, and concise alt text under a new output/brief-build-publish basename.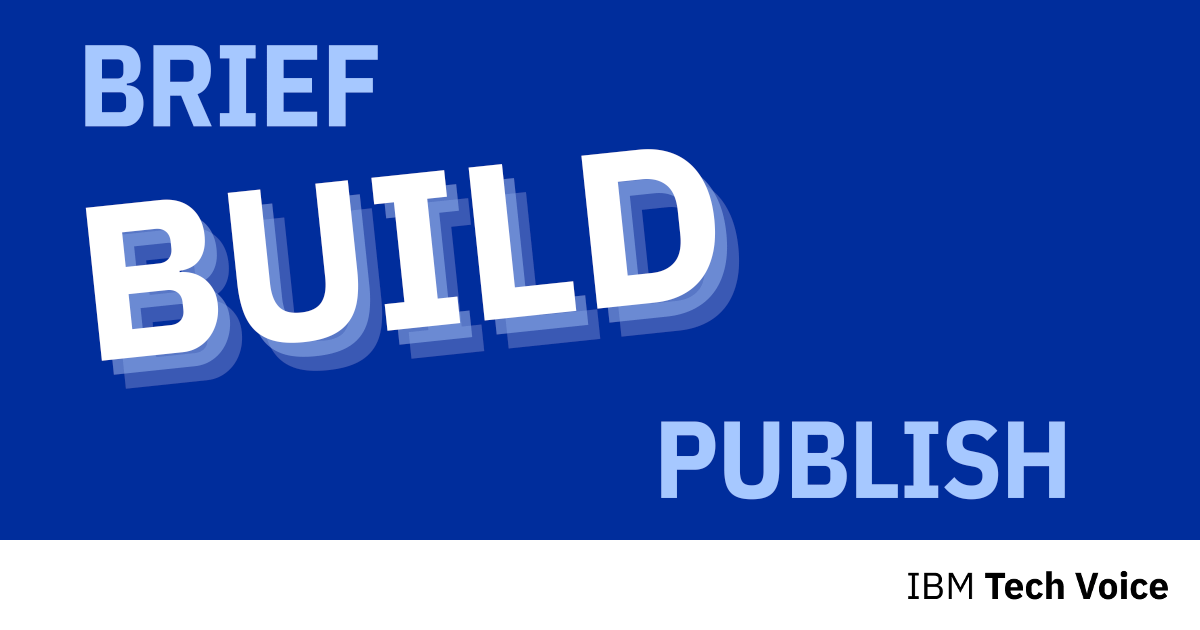
I kept the same idea of large words and repeated lettering for the third image, this time with SKILL in pale blue on black and CANVAS in white below it. I tilted SKILL and put the blue copies behind that word, then kept CANVAS level across the lower row. So we still have some movement in the image, with a different background and arrangement. You can try it with this prompt:
/techvoices-hero-image
Create a kinetic typography hero for an article about using a reusable IBM Bob skill to build editable artwork in PhotoCraft.

Use a black artwork field. Set SKILL in very large Blue 30 IBM Plex Sans Bold at the upper left, rising about four degrees from left to right. Put two Blue 80 copies behind it, offset progressively up and right. Place a small TO below it on the left. Make CANVAS an oversized white word across the lower row, shifted right and on a level baseline. Keep it above y=510.

Use scale and staggered alignment to express instructions becoming a visible canvas. Keep every word editable, preserve the wordmark and the white footer, and preview before saving. Save PNG, native document, and concise alt text under a new output/skill-to-canvas basename.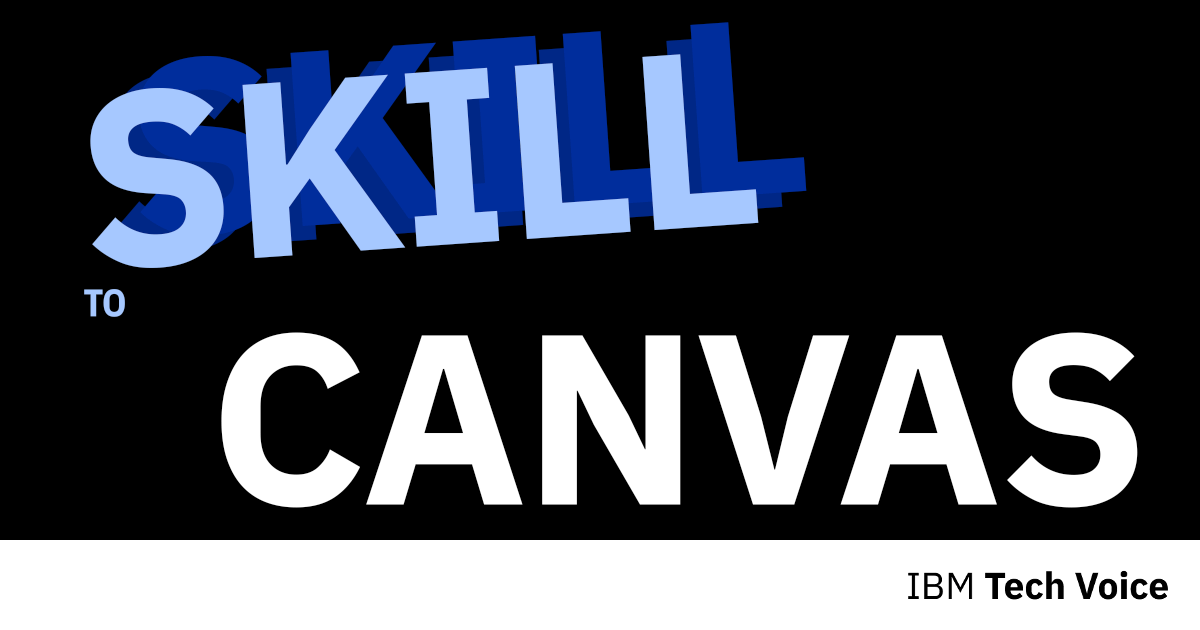
Of the three, I prefer Make it repeatable for this article. The repeated word fits what I'm doing with the skill, and I can keep changing the size and spacing in the saved document. Once you've chosen an image, continue from its existing layers and tell Bob which part you want to change. For example, this asks for a larger headline and keeps the result as a second version:
Open output/make-it-repeatable.pcraft and refine its existing Type layers.
Increase the headline, keep the echoes subordinate, and preserve the entire footer.
Save new files under output/make-it-repeatable-v2, including alt text.
Use the filename Bob returned for your first image, since it may add a suffix if that name already exists. Opening that document gives Bob the layers you just created, and saving under a new name lets you compare the two versions afterwards. You can keep adjusting the one you prefer without having to describe the whole image again.
Use the skill for the next article
Those three images use lettering to describe this article. I also wanted to use the skill for another subject, so I tried Agent memory is a storage system in a fresh Bob conversation. This time I asked for compartments to represent stored records and a path into and out of them, with an editable gradient from Blue 80 to Blue 30. The skill still supplies the dimensions and footer instructions; the new brief tells Bob what to draw above them:
/techvoices-hero-image
Create a hero for “Agent memory is a storage system”.
Summary: agents need explicit records, retrieval, updates, and retention; persistent memory has the ownership and lifecycle concerns of other storage.
Use separate stored records or stacked compartments, with a visible path into and out of them. Include an editable Blue 80-to-Blue 30 gradient.
Save PNG, native document, and alt text under a new output/agent-memory-storage basename. Keep alt text under 60 words.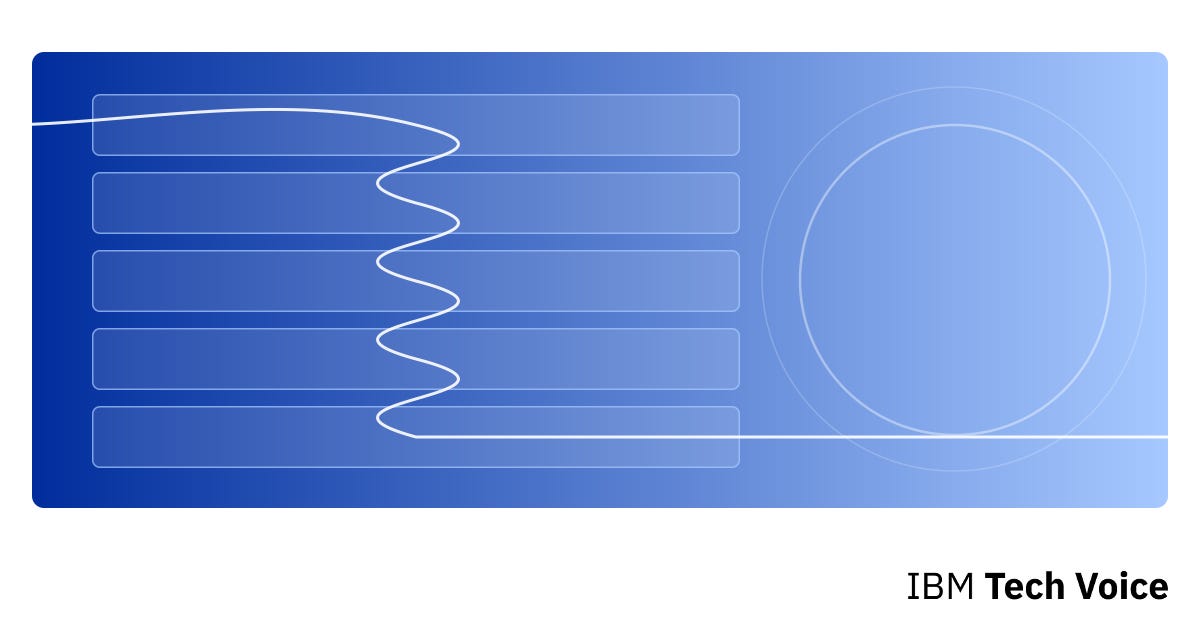
Bob created the storage compartments and the path as editable shapes, with the same footer underneath. Starting a fresh conversation meant it read the skill and opened the base again, using the new article brief for the picture. That's how I want to use this for later articles too: keep the publishing choices together, then think about what the next image should show.
Check the image before publishing
Before I upload an image, I look at it at the size readers will see in the article and on a small card. Large lettering can look fine in the editor and still need some adjustment when I see the smaller version, so I check the words and the footer wordmark there. Then I use ImageMagick to check the exported PNG's dimensions. On macOS, you can install it through Homebrew and check the first example like this:
brew install imagemagick
magick identify -format '%f: %wx%h, %[colorspace], %z-bit\n' \
  output/kinetic-prototypes/a-repeatable.png
For the first example, this prints the filename, dimensions, color space, and bit depth:
a-repeatable.png: 1200x630, sRGB, 8-bitFor a new image, replace the path with the filename Bob returned and look for 1200x630 in the output. If you want to look at the metadata as well, ImageMagick's identify command can print that in more detail:
magick identify -verbose output/kinetic-prototypes/a-repeatable.pngThe examples contain no camera EXIF data, and you'll see a print-density value of about 72 dpi. For the article, I need the 1200 × 630 pixel dimensions. I also read the alt text against the finished image and reopen the .pcraft document to check that I can still select and edit the text or shapes. If I make another change, I export a new PNG from that document and use the updated image.
I started this because I wanted Bob to help me make article images, and I now have a base and a set of instructions I can use for the next one. I can give Bob a title and summary, try a few arrangements, and keep the image I prefer along with its editable document. I still choose what the picture should say and check how it looks before publishing. When I come back to it later, the words and shapes are there for me to change, either directly in PhotoCraft or through another request to Bob.
Discussion about this post