

How to Run IBM Bob on a Remote Linux Machine from Your Mac
A step-by-step guide to using IBM Bob over SSH with a Podman-based remote host, so you can work closer to sensitive environments without turning your laptop into the execution boundary.

Pointing IBM Bob straight at your laptop is the fastest way to get started. Open the editor, load a project, ask Bob to inspect some code, and it immediately feels useful. There is no extra infrastructure, no remote machine, and no SSH setup to think about.
That simplicity is also the trap. Once Bob can read files, edit code, and run shell commands, your local machine becomes the default execution environment for everything. Source code, build caches, generated files, package installs, test artifacts, and agent-driven terminal commands all pile up in the same place. For quick experiments this is fine. For larger codebases or more sensitive environments, it gets hard to control.
A remote development setup changes that boundary. Bob still runs in the editor on your Mac, but the actual workspace lives on a remote Linux machine reached over SSH. File edits happen there. Terminal commands run there. Toolchains and build outputs stay there. That makes the environment easier to reproduce and easier to throw away when something goes wrong.
The jeanp413.open-remote-ssh extension is useful here because it lets the editor open a folder on a remote machine over SSH. Its project describes it exactly that way, and its supported SSH hosts include common Linux targets. That gives us a clean way to move Bob’s working environment off the laptop without changing how the editor feels day to day.
For this tutorial, we do not need a real cloud VM. Podman on macOS already depends on a Linux virtual machine because Linux containers need the Linux kernel. Podman’s machine feature gives us that VM, so we can run an SSH-enabled Linux container inside it and use that container as a simulated remote host.
Why Remote Machines Matter Beyond Isolation
Keeping Bob away from your laptop is one good reason to use a remote machine, but it is not the only one. In many teams, the bigger value is consistency. A remote machine gives every developer the same base OS, the same toolchain, the same package versions, and the same path layout. That removes a whole category of “works on my machine” problems. When Bob runs commands in that environment, it sees the same setup your teammates see. That makes its suggestions and fixes more relevant.
Remote machines also help when the real target environment is Linux. Many Java projects are built and deployed on Linux, even when developers work on macOS or Windows. Running Bob against a remote Linux machine means builds, scripts, file permissions, shell behavior, and container tooling behave much closer to production. This is especially useful when startup scripts, native binaries, or CI jobs depend on Linux-specific behavior. You catch those differences earlier, before they turn into deployment surprises.
Another important point is access to internal systems. In enterprise environments, the code you need is often not fully reachable from a personal laptop. Internal Git servers, package registries, artifact repositories, databases, and mounted filesystems may only be available from a managed network zone. A remote machine inside that zone becomes the place where Bob can work with the real project context. Your laptop stays outside, while the remote host becomes the bridge to systems that are sensitive, regulated, or simply not meant to be exposed broadly.
There is also a resource argument. Some projects need more CPU, memory, disk, or network bandwidth than you want to dedicate on a local machine. Large Maven builds, indexing big monorepos, running integration tests, or pulling large container images can make a laptop unpleasant to use. A remote machine can absorb that load instead. Bob still feels local in the editor, but the heavy work happens somewhere better suited for it.
Remote machines are also useful for team onboarding. Instead of telling every new developer to install a long list of SDKs, CLIs, certificates, shells, and package managers, you can provide a prepared remote environment. That shortens the time until someone is productive. It also reduces drift. Bob benefits from that too, because it works in an environment that already reflects how the team actually builds, tests, and ships software.
One more aspect is recovery. Local environments tend to accumulate damage slowly. A broken package install, a conflicting runtime, a strange shell setting, or a half-finished experiment can stay around for weeks. Remote environments are easier to rebuild. If the machine gets messy, you replace it. That matters even more when you work close to sensitive systems. You want the environment to be reproducible, replaceable, and easy to reason about.
So the value of remote machines is not just isolation. It is also consistency, Linux parity, enterprise access, better resource usage, easier onboarding, and faster recovery. And when Bob needs to work near sensitive environments, remote machines give you a more realistic and practical place to do that work.
Prerequisites
You need a few things in place before you start.
IBM Bob installed ( free 30 day trial)
Podman installed
OpenSSH client available in your terminal
Basic comfort with shell commands and SSH config
Project setup
We start by creating the Linux environment that will act like the remote host.
Create and start the Podman machine:
podman machine init --cpus 4 --memory 8192 --disk-size 40
podman machine start
podman info
On macOS, Podman cannot run Linux containers directly on the host OS. It needs a Linux virtual machine underneath, and podman machine init creates exactly that. The Podman docs also note that SSH keys are generated automatically for access to the VM itself.
Now create a small working folder on your Mac for the demo:
mkdir -p ~/bob-remote-demo/ssh
cd ~/bob-remote-demo
Generate a dedicated SSH key for the simulated remote host:
ssh-keygen -t ed25519 -f bob-remote-demo/ssh/bob_remote_key -N ""We use a dedicated key because it keeps the test isolated. Later, cleanup is simple. You also avoid mixing this experiment with your normal laptop SSH identities.
Next, create a Containerfile that defines the remote Linux machine:
⚠️ NOTE: I had to remove the beginning “/” before all three occurrences of etc because of the stupid configuration of Substack’s Cloudflare blocking. Make sure to correct this before you use the file!
FROM docker.io/ubuntu:24.04

ENV DEBIAN_FRONTEND=noninteractive

RUN apt-get update && apt-get install -y \
    openssh-server \
    sudo \
    bash \
    curl \
    git \
    ca-certificates \
    tar \
    gzip \
    unzip \
    procps \
    less \
    nano \
    vim \
    iproute2 \
    openjdk-21-jdk \
    maven \
    && rm -rf /var/lib/apt/lists/*

RUN useradd -m -s /bin/bash bob \
    && passwd -d bob \
    && echo "bob ALL=(ALL) NOPASSWD:ALL" > etc/sudoers.d/bob \
    && chmod 0440 etc/sudoers.d/bob

RUN mkdir -p /var/run/sshd /home/bob/.ssh \
    && chown -R bob:bob /home/bob/.ssh \
    && chmod 700 /home/bob/.ssh

COPY ssh/bob_remote_key.pub /home/bob/.ssh/authorized_keys

RUN chown bob:bob /home/bob/.ssh/authorized_keys \
    && chmod 600 /home/bob/.ssh/authorized_keys

RUN printf '%s\n' \
    'Port 2222' \
    'PermitRootLogin no' \
    'PasswordAuthentication no' \
    'KbdInteractiveAuthentication no' \
    'ChallengeResponseAuthentication no' \
    'UsePAM no' \
    'PubkeyAuthentication yes' \
    'AllowUsers bob' \
    'X11Forwarding no' \
    'AllowTcpForwarding yes' \
    'ClientAliveInterval 300' \
    'ClientAliveCountMax 2' \
    > etc/ssh/sshd_config.d/remote-dev.conf

USER bob
WORKDIR /home/bob
RUN mkdir -p /home/bob/workspace/demo-app

USER root
EXPOSE 2222

CMD ["/usr/sbin/sshd", "-D", "-e"]
This image gives us a plain Ubuntu remote host with SSH, a normal user account, Git, Java 21, and Maven. That is enough to test a real editor-over-SSH workflow and then let Bob operate on a Java project remotely.
A few design choices are worth calling out. We disable root login. We disable password authentication. We allow only key-based login for the bob user. That keeps the remote boundary simple and predictable. We do allow SSH forwarding because remote editor workflows often need it. If you know you do not need it, you can tighten that later.
Build the image:
podman build --no-cache --arch amd64 -t bob-remote-ubuntu:24.04 .The --arch amd64 part matters on Apple Silicon. Without it, Podman will usually build an arm64 image because that matches the host machine. That sounds fine until Bob tries to install its remote server component on the container. In our testing, the Bob remote install flow detected aarch64, requested a Linux arm64 BobIDE server build, and got a 404 from the download endpoint. Building the simulated remote host as amd64 avoids that problem and makes the container look like a more typical x86_64 Linux development machine. The --no-cache flag is useful here too. It forces a clean rebuild, which helps when you change SSH keys, account setup, or the container image itself during testing.
Run the remote host container:
podman run -d \
  --name bob-remote-host \
  --platform linux/amd64 \
  -p 2222:2222 \
  bob-remote-ubuntu:24.04
The --publish option maps the container’s SSH port to your Mac. Podman documents --publish as the mechanism for exposing a container port on the host, which is exactly what we need so localhost:2222 becomes our remote entry point.
The build and run commands should match. We build an amd64 image, and we run it explicitly as linux/amd64, so Bob sees a remote Linux x86_64 machine and can use the expected remote server package.
By now, the basic shape is in place: Podman provides the Linux VM, and inside it we run a container that behaves like a remote development machine.
Implementation
Now we wire the SSH access, test it from the terminal, connect Bob, and verify that Bob is really operating against the remote Linux machine.
Start with your local SSH config. Open ~/.ssh/config and add this host:
Host bob-podman-demo
  HostName 127.0.0.1
  Port 2222
  User bob
  IdentityFile ~/bob-remote-demo/ssh/bob_remote_key
  IdentitiesOnly yes
  StrictHostKeyChecking accept-new
  ServerAliveInterval 30
  ServerAliveCountMax 3
  ForwardAgent yes
This alias is important. Do not skip it. A stable SSH alias gives you a stable target name inside Bob and your terminal. Later, if you replace the backend host, you can keep using bob-podman-demo and only change the actual hostname or port. That is a small detail, but it makes real remote workflows easier to maintain.
Now test raw SSH from the terminal:
ssh bob-podman-demoYou should land on the remote host and see a shell prompt for the bob user. Once you are there, verify the basics:
whoami
pwd
uname -a
java -version
mvn -version
Expected behavior is simple. whoami returns bob. pwd starts in /home/bob. uname -a shows Linux, not macOS. java -version and mvn -version confirm the remote toolchain is installed.
Create a small Java project on the remote host so Bob has something real to work with:
cd ~/workspace/demo-app
git init

cat > pom.xml <<'EOF'
<project xmlns="http://maven.apache.org/POM/4.0.0"
         xmlns:xsi="http://www.w3.org/2001/XMLSchema-instance"
         xsi:schemaLocation="http://maven.apache.org/POM/4.0.0
         https://maven.apache.org/xsd/maven-4.0.0.xsd">
  <modelVersion>4.0.0</modelVersion>

  <groupId>com.example</groupId>
  <artifactId>bob-remote-demo</artifactId>
  <version>1.0.0-SNAPSHOT</version>

  <properties>
    <maven.compiler.release>21</maven.compiler.release>
    <project.build.sourceEncoding>UTF-8</project.build.sourceEncoding>
  </properties>

  <build>
    <plugins>
      <plugin>
        <groupId>org.apache.maven.plugins</groupId>
        <artifactId>maven-compiler-plugin</artifactId>
        <version>3.15.0</version>
        <configuration>
          <release>21</release>
        </configuration>
      </plugin>
    </plugins>
  </build>
</project>
EOF

mkdir -p src/main/java/com/example
cat > src/main/java/com/example/Main.java <<'EOF'
package com.example;

public class Main {
    public static void main(String[] args) {
        System.out.println("Hello from the remote machine.");
    }
}
EOF

cat > README.md <<'EOF'
# Bob Remote Demo

This project is used to verify that IBM Bob is operating against a remote Linux machine over SSH.
EOF

mvn -q compile
This project stays intentionally small. The goal here is not Maven or Java fundamentals. The goal is to prove that Bob can read, change, build, and test code remotely.
Exit the SSH session:
exitNow open IBM Bob on your Mac. The Open Remote - SSH extension from jeanp413 should already be installed (If not, grab it from open-vsx).
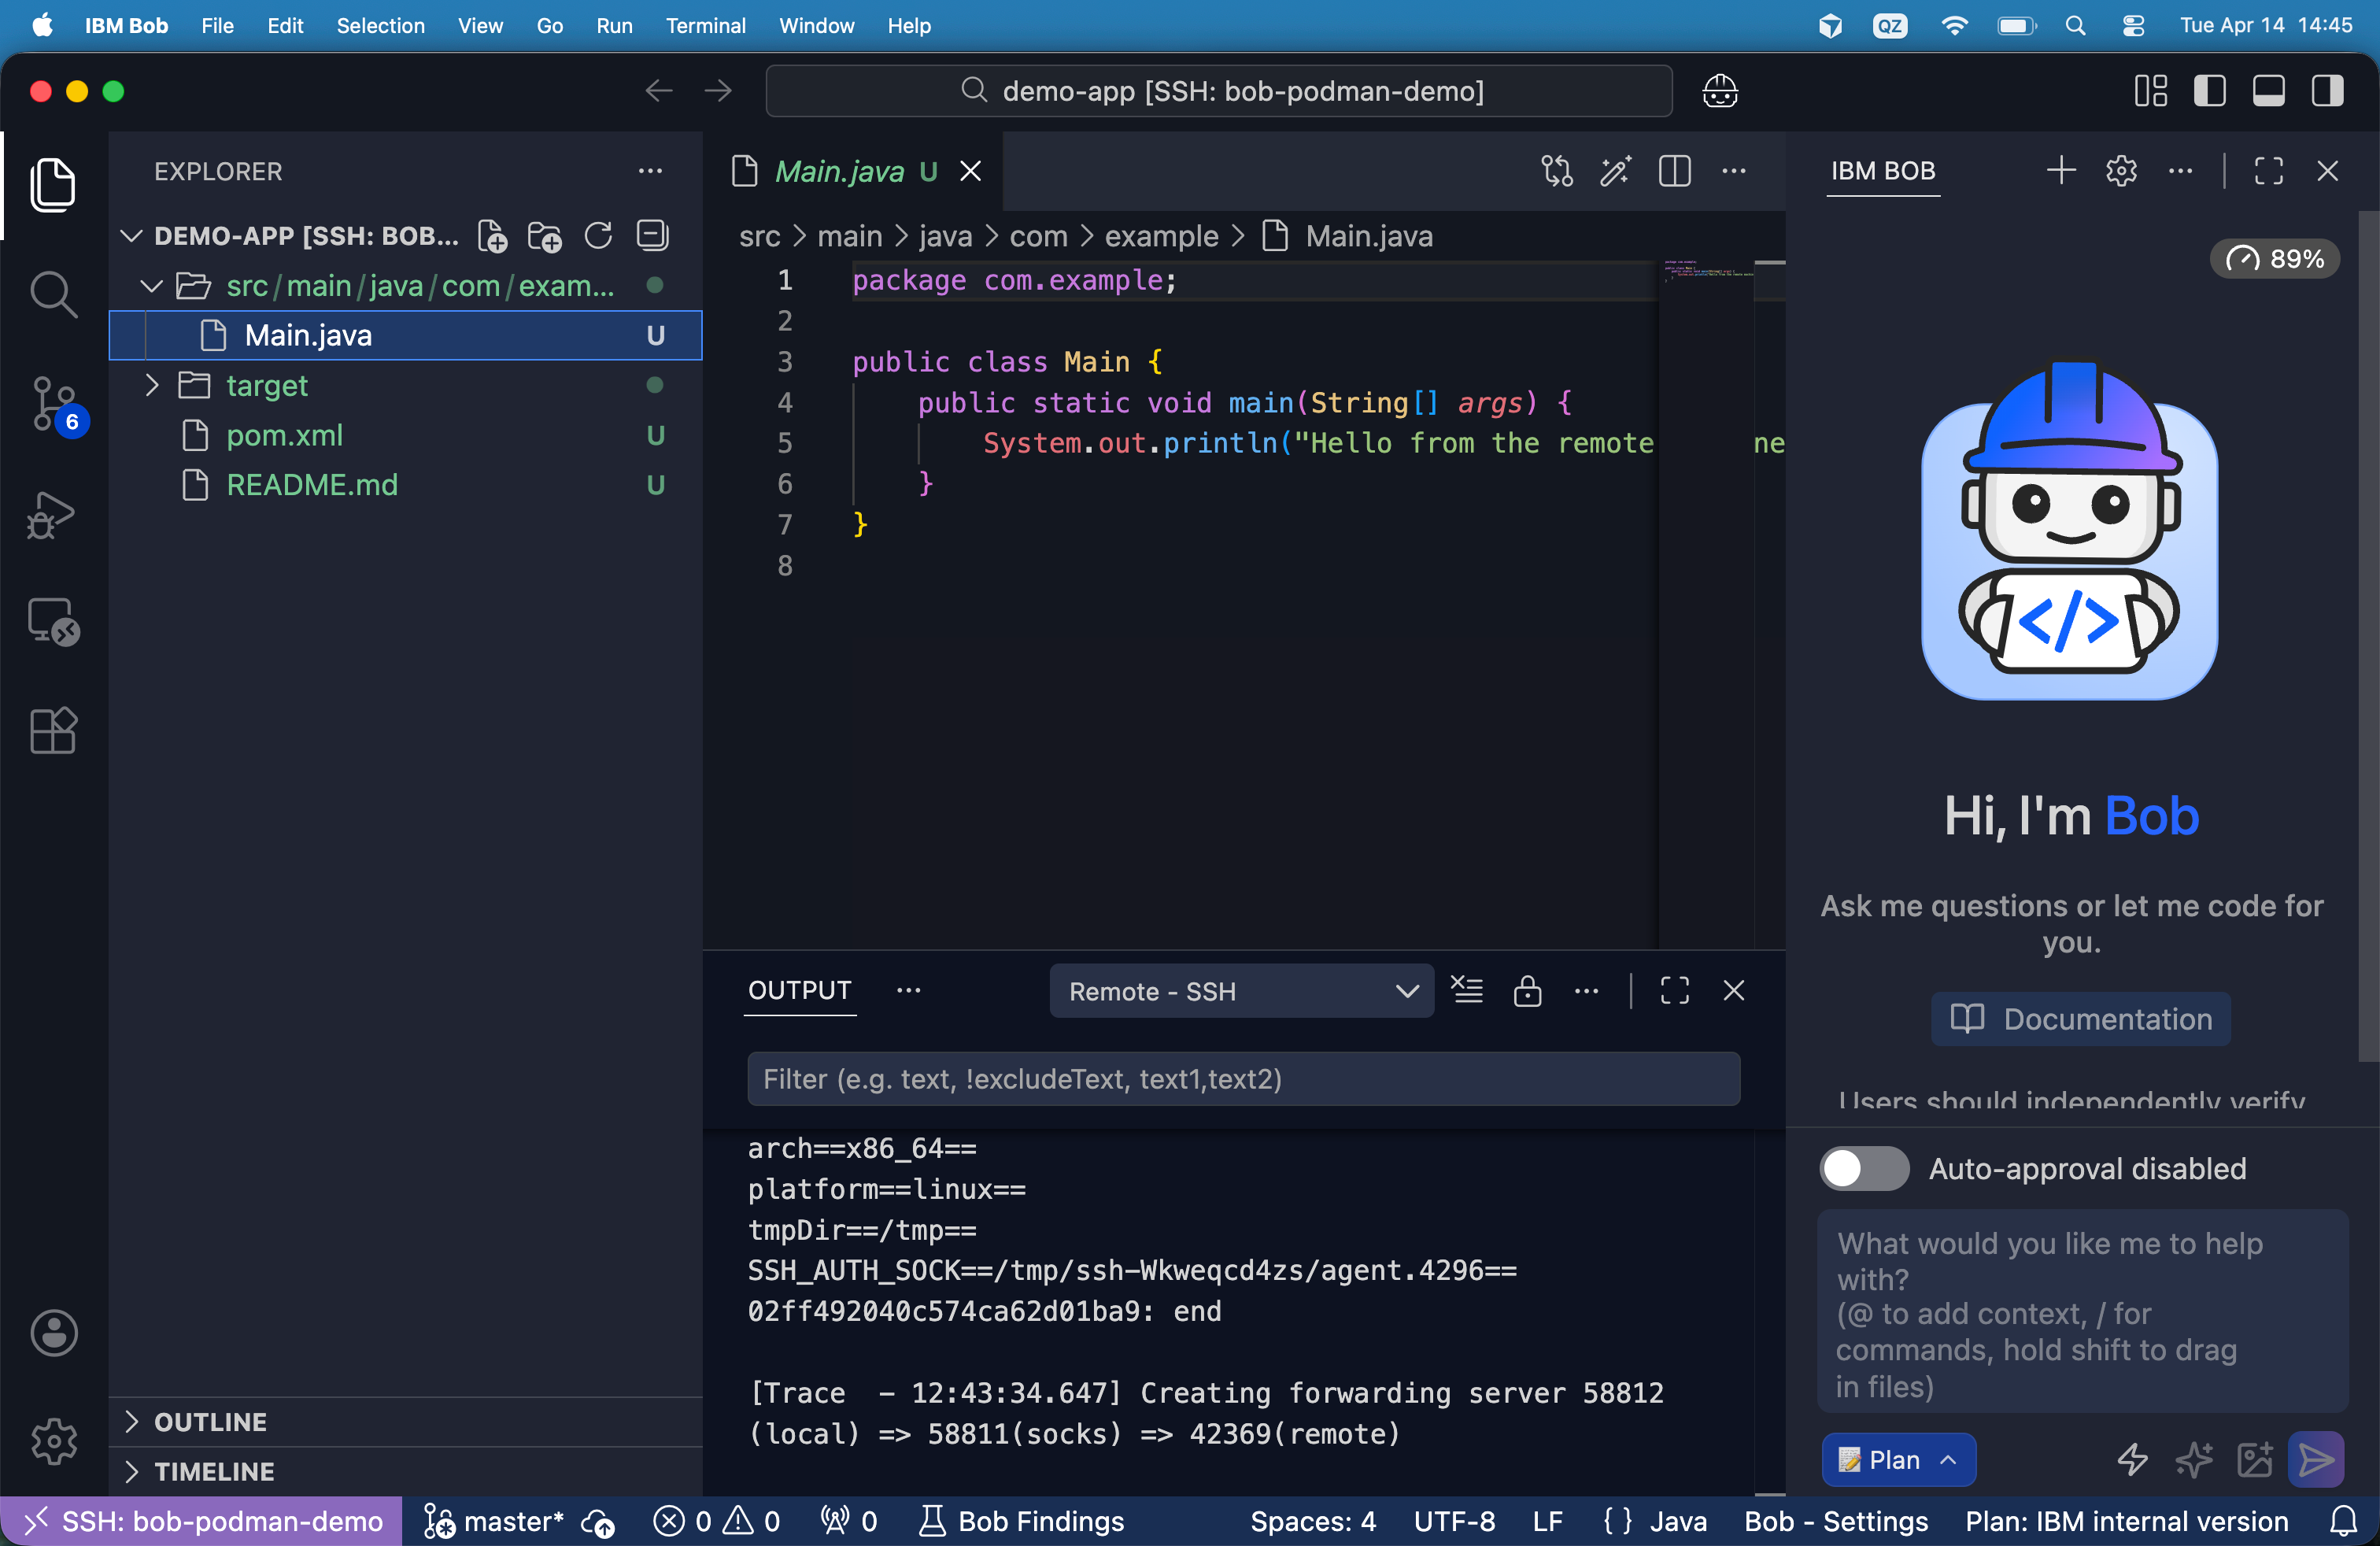
Open the command palette in Bob and connect the current window to bob-podman-demo. This should look like this:
You can also open the Terminal window and you will directly see user bob logged in.
Right after you choose the host from the command palette, Bob starts a normal SSH connection using the identity configured for that host. In this case it picks the dedicated bob_remote_key, authenticates with public key login, and then runs a remote install script on the Linux machine. That script checks the remote platform and architecture, prepares the ~/.bobide-server directory, and looks for a matching bobide-server build. Because the server is already installed and running in this log, Bob skips the download, reuses the existing remote server process, reads its connection token, finds the port it is listening on, and then creates local port forwarding back to that remote process. This is the important part: Bob is not just opening files over raw SSH. It uses SSH first, then boots or reuses a Bob remote server on the target machine, and finally tunnels your local editor session to that server so the remote workspace behaves like a local IDE window.
Then open this folder:
/home/bob/workspace/demo-appOnce the remote folder opens, stop for a second and verify what you are looking at. You are still using Bob locally, but the workspace itself is remote. That means file edits and shell commands now happen on the remote Linux target, not on your macOS host. This is the core architectural change.
Open the integrated terminal in the Bob window and run:
whoami
pwd
uname -a
ls -la
mvn -q compile
If all of that works, Bob is now operating against the remote Linux machine.
Next, ask Bob to inspect the project. A good first prompt is:
Then ask Bob to make a controlled change:
Add a JUnit 5 test to this Maven project, explain the changes first, then apply them.Finally, ask it to run the test:
Run the tests and explain the output.IBM Bob’s docs highlight file access and the ability to run terminal or shell commands from inside Bob.

A note about real enterprise environments
This tutorial uses a plain Linux container to simulate a remote machine. That is the right way to learn the workflow. But real enterprise environments often add one more layer. SSH connectivity may work, while access to the real workspace still fails because the remote session is missing extra identity or filesystem tokens. Maybe you run into kinit, aklog, and ~/.ssh/rc hooks for AFS token setup or other things. That is environment-specific, so we do not build it into the generic Podman flow here, but the pattern matters: a working SSH login does not automatically mean a fully initialized enterprise session.
The same is true for Bob-specific remote components. In some managed environments, a remote-side BobIDE server or helper runtime also has to be present. A managed Power or internal enterprise environment often does.
Configuration
There are three configurations that matter in this setup: Podman machine settings, the SSH daemon in the container, and your local SSH alias.
The Podman machine is created with:
podman machine init --cpus 4 --memory 8192 --disk-size 40Remote editor sessions get unpleasant quickly when the underlying VM is too small. The editor does file watching, indexing, shell commands, Git activity, and language tooling. Give the machine too little memory and you get slow builds, laggy terminals, and flaky background tasks. Give it too few CPUs and simple operations take longer than they should.
The SSH daemon configuration inside the container is this:
Port 2222
PermitRootLogin no
PasswordAuthentication no
KbdInteractiveAuthentication no
ChallengeResponseAuthentication no
UsePAM no
PubkeyAuthentication yes
AllowUsers bob
X11Forwarding no
AllowTcpForwarding yes
ClientAliveInterval 300
ClientAliveCountMax 2
PermitRootLogin no blocks the worst default mistake. PasswordAuthentication no removes password guessing. AllowUsers bob narrows the login surface. ClientAliveInterval and ClientAliveCountMax help dead sessions time out cleanly. We leave AllowTcpForwarding yes enabled because some remote workflows depend on it. If yours does not, turn it off.
Your local SSH alias matters just as much:
Host bob-podman-demo
  HostName 127.0.0.1
  Port 2222
  User bob
  IdentityFile ~/bob-remote-demo/ssh/bob_remote_key
  IdentitiesOnly yes
  StrictHostKeyChecking accept-new
  ServerAliveInterval 30
  ServerAliveCountMax 3
  ForwardAgent yes
IdentitiesOnly yes avoids weird behavior when your laptop has many SSH keys loaded. ForwardAgent yes is useful when the remote host itself needs to reach another Git server using your local agent. In plain local tests you may not need it, but it is a common real-world requirement.
One more configuration point matters from a security perspective. Some teams try to solve remote development by exposing container APIs over TCP. Podman warns directly against this. The API grants full access to Podman functionality and allows arbitrary code execution as the user running the API, and they strongly recommend against making the API socket available over the network. They recommend SSH forwarding instead when remote access is needed.
Clean up
When you are done, destroy the remote host:
podman rm -f bob-remote-hostIf you created the Podman machine only for this tutorial, you can stop it too:
podman machine stopThis disposable cleanup is one of the best operational advantages of the whole pattern. You can rebuild the environment from scratch instead of trying to repair a messy one.
Conclusion
We built a complete remote Bob workflow on macOS without needing a real remote server. Podman gave us the Linux VM that macOS needs for containers, we ran an SSH-enabled Ubuntu container inside it, and IBM Bob connected to that remote Linux machine through jeanp413.open-remote-ssh. The result is a cleaner boundary: Bob still runs in your editor, but the workspace, shell commands, build tools, and side effects live in a remote environment you can inspect, rebuild, and destroy. The main thing to remember is this: SSH is the transport, not the whole story. In simple setups, that is enough. In enterprise environments, you often need extra identity bootstrapping and sometimes Bob-specific remote components too. That split makes remote Bob setups much easier to understand and debug.