

Real-Time Java AI: Building a Context-Aware Chatbot with Quarkus, Qute, and WebSockets
Stream LLM responses token-by-token using LangChain4j, Ollama, and WebSocket Next: Fully local, fully Java.


Real-Time Java AI with Memory? Yes, Please. Let’s cut through the buzz: most chatbots are dumb. Not because the models are weak, but because the code behind them forgets everything you say the moment you hit “send.” In this tutorial, we're going to fix that.
You’ll build a fully local, memory-aware, streaming chatbot using:
Quarkus as the Java application framework
LangChain4j for LLM interaction and agent memory
Ollama to run the model (we'll use
llama3)WebSocket Next to stream tokens in real time
Qute for a lightweight, live chat UI
This isn’t just a chatbot. It’s an AI-powered, multi-turn reasoning agent: All running on your laptop. Let’s build it.
You can also directly jump into the repository if you want to!
Prerequisites
You’ll need:
Java 17+
Apache Maven
Ollama installed and running (If you don’t Quarkus DevContainer will download everything necessary for you)
A local model (e.g.
llama3) pulled:
ollama run llama3Step 1 – Bootstrap Your Project
Use the Quarkus CLI or Maven:
mvn io.quarkus.platform:quarkus-maven-plugin:create \
    -DprojectGroupId=org.acme \
    -DprojectArtifactId=quarkus-chatbot \
    -Dextensions="langchain4j-ollama,rest,rest-qute,websockets-next" \
    -DnoCode
cd quarkus-chatbot
Step 2 – Configure Your Application
Set up src/main/resources/application.properties:
quarkus.langchain4j.ollama.chat-model.model-id=mistral
quarkus.langchain4j.ollama.base-url=http://localhost:11434
quarkus.langchain4j.ollama.timeout=60s

quarkus.langchain4j.ollama.log-requests=true
quarkus.langchain4j.ollama.log-responses=true
This tells Quarkus to use the Mistral model with a local Ollama instance running and gives the responses a 60s timeout in case things go really slow. The log-requests and log-response properties tell Quarkus to log everything being handed over to the model in the server log.
Step 3 – Create the Chat Agent
In src/main/java/org/acme/SessionScopeChatAgent.java:
package org.acme;

import dev.langchain4j.service.UserMessage;
import io.quarkiverse.langchain4j.RegisterAiService;
import io.smallrye.mutiny.Multi;
import jakarta.enterprise.context.SessionScoped;

@RegisterAiService
@SessionScoped
public interface SessionScopeChatAgent {
        Multi<String> chat(@UserMessage String userMessage);
}
This declares an agent that will stream LLM responses token-by-token (Multi<String>).
Step 4 – WebSocket Endpoint with WebSocket Next
Now let’s build the server-side channel that streams the LLM output to the browser. In src/main/java/org/acme/ChatSocket.java:
package org.acme;

import io.quarkus.websockets.next.OnOpen;
import io.quarkus.websockets.next.OnTextMessage;
import io.quarkus.websockets.next.WebSocket;
import io.smallrye.mutiny.Multi;

@WebSocket(path = "/ws/chat")
public class ChatSocket {

    private final SessionScopeChatAgent agent;

    public ChatSocket(SessionScopeChatAgent agent) {
        this.agent = agent;
    }

    @OnOpen
    public Multi<String> onOpen() {
        return Multi.createFrom().item("Connection opened");
    }

    @OnTextMessage
    public Multi<String> onMessage(String message) {
        return agent.chat(message);
    }

}
This setup ensures every LLM token is streamed immediately back to the frontend.
Step 5 – The Live Qute UI
In src/main/resources/templates/chat.qute.html:
<!DOCTYPE html>
<html>
<head>
<meta charset="UTF-8">
<title>Quarkus Chat</title>
<script>
let socket;
let buffer = "";
function connect() {
const protocol = (window.location.protocol === 'https:') ? 'wss' : 'ws';
socket = new WebSocket(protocol + '://' + window.location.host + '/ws/chat');
socket.onmessage = function(event) {
try {
if (event.data === "Connection opened") {
//console.log("WebSocket connection established.");
return;
}
buffer += event.data;
buffer = buffer.replace(/\s+/g, " ").trim();
const formattedBuffer = buffer.replace(/\n/g, "<br>");
//console.log("Formatted response so far:", formattedBuffer);
const chatDiv = document.getElementById("chat");
let lastMessage = chatDiv.lastElementChild;
if (lastMessage && lastMessage.className === "bot") {
lastMessage.innerHTML = formattedBuffer;
} else {
const botDiv = document.createElement("div");
botDiv.className = "bot";
botDiv.innerHTML = formattedBuffer;
chatDiv.appendChild(botDiv);
}
scrollToBottom();
} catch (e) {
console.error("Error while handling WebSocket message:", e);
}
};
socket.onerror = function(error) {
console.error("WebSocket Error:", error);
};
socket.onopen = function() {
console.log("WebSocket connection established.");
};
}
function sendMessage() {
const input = document.getElementById("input");
const message = input.value.trim();
if (message === "") return;
input.value = "";
buffer = "";
const userDiv = document.createElement("div");
userDiv.className = "user";
userDiv.innerText = message;
document.getElementById("chat").appendChild(userDiv);
socket.send(message);
scrollToBottom();
}
window.onload = connect;
</script>
<style>
<!-- skipped for brevity. look at repository -->
</style>
</head>
<body>
<h1>Chat with LLM</h1>
<div id="chat"></div>
<input type="text" id="input" placeholder="Say something..." style="width: 80%">
<button onclick="sendMessage()">Send</button>
</body>
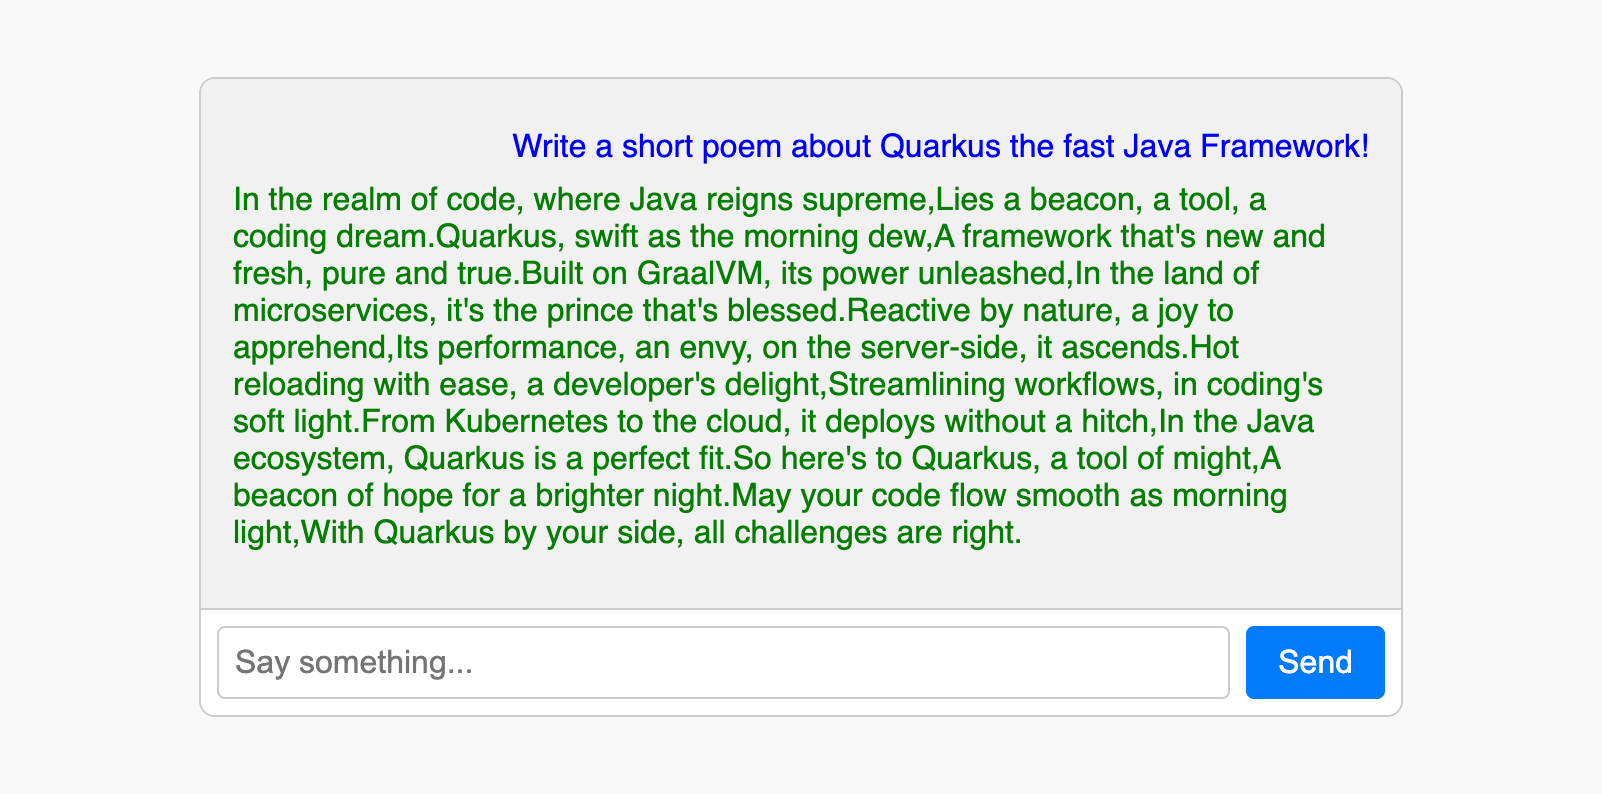
</html>It’s a simple but effective live chat UI. You’ll see your own messages and streamed LLM responses appear as the model types them.
Step 6 – Serve the Page
Create the REST resource src/main/java/org/acme/PageResource.java to serve the Qute template:
package org.acme;

import io.quarkus.qute.Template;
import io.quarkus.qute.TemplateInstance;
import jakarta.inject.Inject;
import jakarta.ws.rs.GET;
import jakarta.ws.rs.Path;
import jakarta.ws.rs.Produces;
import jakarta.ws.rs.core.MediaType;

@Path("/")
public class PageResource {

    @Inject
    Template chat;

    @GET
    @Produces(MediaType.TEXT_HTML)
    public TemplateInstance index() {
        return chat.instance();
    }
}
Step 7 – Run It!
Make sure your model is up:
ollama run MistralThen start your app:
./mvnw quarkus:devGo to http://localhost:8080, type a message, and watch the tokens flow back in real-time.
What You Built
You’ve now got a streaming, memory-aware, locally hosted AI chatbot using nothing but:
Java
Quarkus
LangChain4j
WebSockets
Qute
All without ever hitting an OpenAI endpoint.
You can expand it easily:
Add avatars and Markdown support
Add persona prompts or tool calling
Store memory in a database
Track usage and intent for metrics
Final Thoughts
This tutorial shows that AI isn’t just for Python people. With Quarkus and LangChain4j, you can build modern, intelligent agents right from your Java toolchain. No APIs. No latency. Just fast local feedback and dev joy.
Want More?
Let me know if you’d like a follow-up with:
File uploads and retrieval-based memory (RAG)
Intent classification + tool calling
Secure WebSocket session support
Ready to stream some AI? Fork this repo, start coding, and bring your Java chatbot to live.
Hello Markus! I have a question about using Multi with tools (blocking). In the Quarkus LangChain4j Workshop it is suggested that for blocking tools you use String instead of Multi. Do you still have this limitation? This is the first time I have contact with Mutiny and reactivity. I would like to take this opportunity to thank you for all the content you have been sharing with the community. It has helped me a lot!