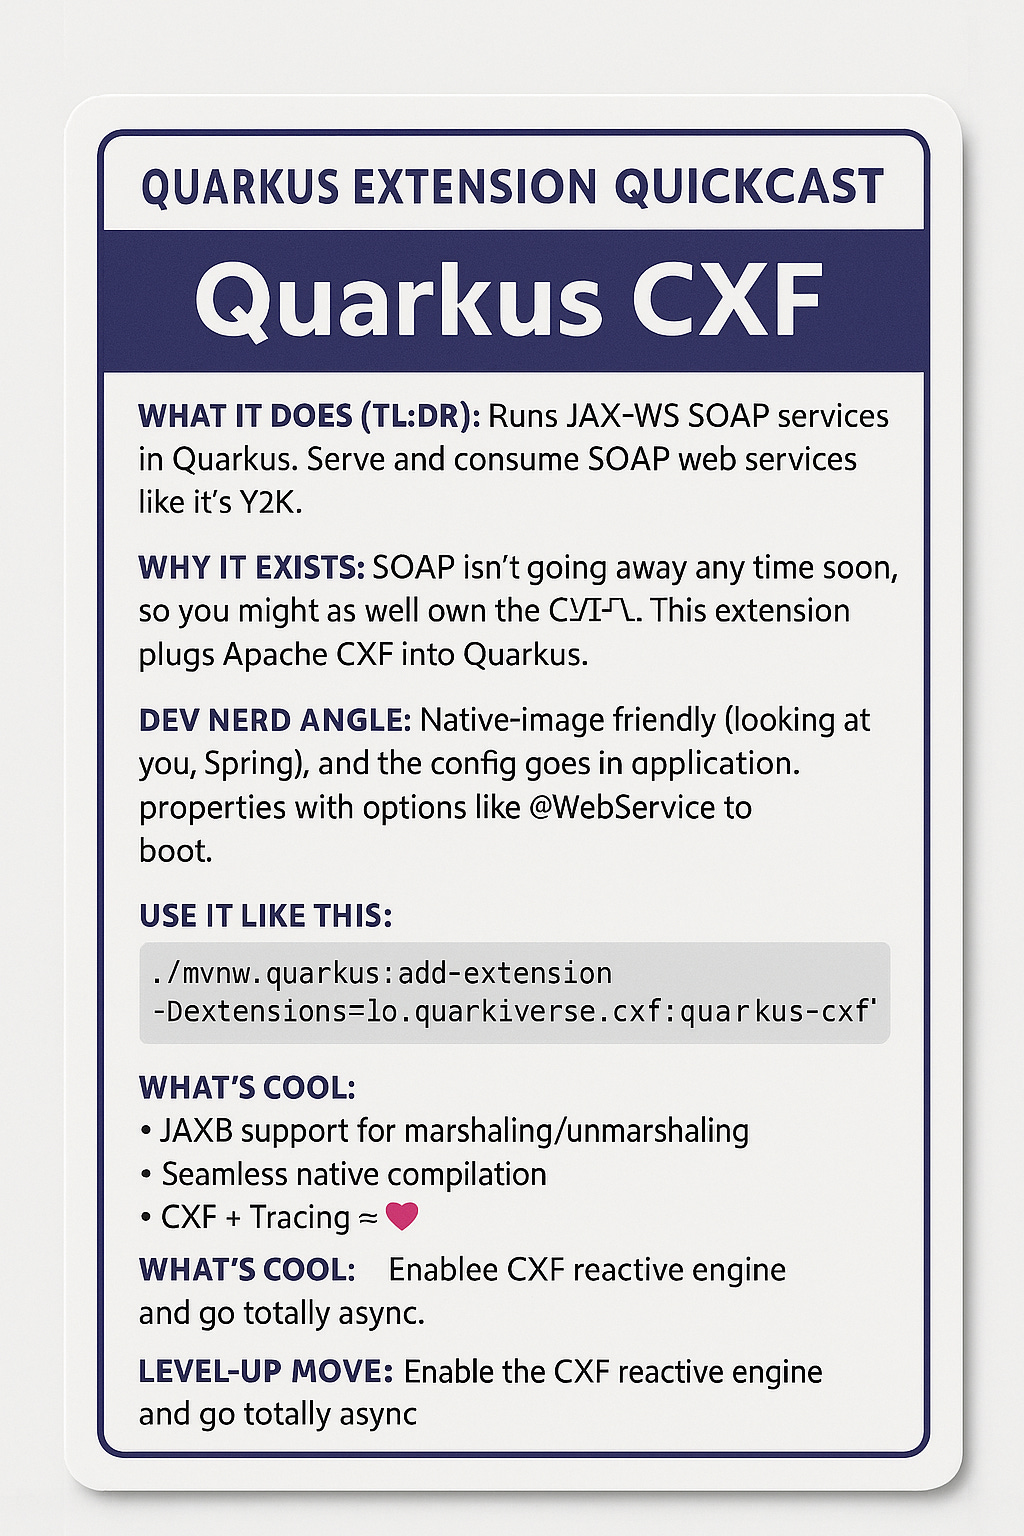
Modern SOAP with Quarkus: Build, Secure, and Deploy Faster Than Ever
How the Quarkus CXF extension brings legacy integration into the cloud-native era—with native images, fast dev loops, and secure endpoints.

SOAP isn't trendy—but it's still essential. If you’re building applications that integrate with banking systems, government registries, insurance platforms, or legacy ERP solutions, chances are high that SOAP is in the picture. Many of these systems were built before REST became the standard and rely on strongly typed, contract-first communication using XML and WSDL.
For modern Java developers, working with SOAP often feels like a step back. The APIs are verbose, and the tooling can be painful. But ignoring it isn’t an option.
That’s where Quarkus CXF comes in. It lets you build and consume SOAP services with the developer experience and runtime efficiency of Quarkus, using Apache CXF under the hood. You get native image support, live reload in dev mode, fast startup, and a first-class CDI experience.
This article walks you through building both a SOAP service and a client using Quarkus CXF. You'll learn how to generate WSDL, consume a remote SOAP service, and secure your endpoints using modern authentication and authorization mechanisms—all with Quarkus idioms.
Why Quarkus CXF?
Apache CXF is a production-ready SOAP framework with JAX-WS and WSDL-first support. The Quarkus CXF extension adapts it to run efficiently on Quarkus, supporting:
Code-first and WSDL-first development
SOAP client injection via
@CXFClientFast dev mode with live reload
Native image compatibility with GraalVM
Seamless CDI and config integration
Security support via Quarkus extensions
You can modernize legacy services or build new ones that integrate cleanly with enterprise systems—all without leaving the Quarkus ecosystem.
Prerequisites
You’ll need:
Java 17+
Maven 3.8+
Quarkus CLI (
brew install quarkusio/tap/quarkusif you're using macOS)
Step 1: Create the Project
Let’s start with a simple “Hello” SOAP service:
quarkus create app org.acme:quarkus-cxf-demo \
  --extension=quarkus-cxf \
  --no-code
cd quarkus-cxf-demo
Add the CXF dependency if not already present:
<dependency>
  <groupId>io.quarkiverse.cxf</groupId>
  <artifactId>quarkus-cxf</artifactId>
</dependency>
Step 2: Define the Service Interface
Create a JAX-WS interface:
package org.acme;

import jakarta.jws.WebService;
import jakarta.jws.WebMethod;

@WebService
public interface HelloService {
    @WebMethod
    String sayHello(String name);
}
This is a code-first approach—Quarkus will generate the WSDL for you at runtime.
Step 3: Implement the Service
Now provide a CDI bean that implements the service:
package org.acme;

import jakarta.jws.WebService;
import jakarta.enterprise.context.ApplicationScoped;

@ApplicationScoped
@WebService(
    endpointInterface = "org.acme.HelloService",
    serviceName = "HelloService",
    portName = "HelloPort"
)
public class HelloServiceImpl implements HelloService {
    @Override
    public String sayHello(String name) {
        return "Hello, " + name + "!";
    }
}
Step 4: Configure the Endpoint
Register the service endpoint in application.properties:
quarkus.cxf.endpoint."/hello".implementor=org.acme.HelloServiceImplNow your service is accessible at http://localhost:8080/hello. You can also retrieve the WSDL at http://localhost:8080/hello?wsdl.
Step 5: Create a SOAP Client
Let’s consume this service as a client.
1. Define the Interface
package org.acme;

import jakarta.jws.WebService;
import jakarta.jws.WebMethod;

@WebService(targetNamespace = "http://org.acme/")
public interface HelloService {
    @WebMethod
    String sayHello(String name);
}
2. Configure the Client
quarkus.cxf.client.helloClient.service-interface=org.acme.HelloService
quarkus.cxf.client.helloClient.endpoint-url=http://localhost:8080/hello
quarkus.cxf.client.helloClient.wsdl-url=http://localhost:8080/hello?wsdl
3. Inject the Client
package org.acme;

import io.quarkiverse.cxf.annotation.CXFClient;
import jakarta.enterprise.context.ApplicationScoped;

@ApplicationScoped
public class HelloClientService {
    @CXFClient("helloClient")
    HelloService helloService;

    public String greet(String name) {
        return helloService.sayHello(name);
    }
}
Step 6: Secure the SOAP Service
In enterprise systems, SOAP services often need to be secured using authentication and authorization policies. Quarkus CXF plays well with Quarkus security extensions to help you implement these requirements.
1. Add a Security Provider
For basic HTTP authentication, add the Quarkus security extension:
<dependency>
  <groupId>io.quarkus</groupId>
  <artifactId>quarkus-security</artifactId>
</dependency>
For OpenID Connect (OIDC), use:
<dependency>
  <groupId>io.quarkus</groupId>
  <artifactId>quarkus-oidc</artifactId>
</dependency>
You can use either file-based, LDAP, or OIDC authentication strategies depending on your environment.
2. Add HTTP Basic Auth Configuration (Example)
In application.properties:
# Enable HTTP basic auth for all endpoints
quarkus.http.auth.basic=true

# Protect the CXF endpoint
quarkus.http.auth.proactive=true
quarkus.http.auth.permission.soap.paths=/hello
quarkus.http.auth.permission.soap.policy=authenticated
Then create a simple in-memory identity provider:
package org.acme;

import jakarta.enterprise.context.ApplicationScoped;
import io.quarkus.security.identity.SecurityIdentity;
import io.quarkus.security.identity.IdentityProviderManager;
import io.quarkus.security.identity.request.UsernamePasswordAuthenticationRequest;
import io.smallrye.mutiny.Uni;

@ApplicationScoped
public class InMemoryIdentityProvider implements io.quarkus.security.identity.IdentityProvider<UsernamePasswordAuthenticationRequest> {
    @Override
    public Class<UsernamePasswordAuthenticationRequest> getRequestType() {
        return UsernamePasswordAuthenticationRequest.class;
    }

    @Override
    public Uni<SecurityIdentity> authenticate(UsernamePasswordAuthenticationRequest request,
                                              IdentityProviderManager identityProviderManager) {
        if ("admin".equals(request.getUsername()) && "secret".equals(new String(request.getPassword().getPassword()))) {
            return identityProviderManager.authenticate(request);
        }
        return Uni.createFrom().nullItem();
    }
}
3. Add Role-Based Authorization (Optional)
Annotate your service implementation with @RolesAllowed:
import jakarta.annotation.security.RolesAllowed;

@RolesAllowed("soap-user")
public class HelloServiceImpl implements HelloService {
    ...
}
Make sure the authenticated user has the "soap-user" role.
Step 7: Run as Native
To build a native binary:
./mvnw package -PnativeQuarkus CXF supports native mode, but you’ll need to ensure your WSDLs and JAXB types are visible to GraalVM. The extension automatically registers many of them, but for dynamic behavior, you may need reflection hints via @RegisterForReflection.
Conclusion
Developers often have to bridge the gap between modern platforms and legacy systems. SOAP still plays a critical role in regulated industries and large-scale enterprise integrations, where WSDL contracts, type safety, and WS-Security are required.
With Quarkus CXF, you can approach SOAP development with a toolkit that’s optimized for speed, simplicity, and native execution. You don’t have to give up developer productivity—or runtime performance—just because the system on the other side speaks SOAP.
Whether you’re exposing SOAP services, consuming them, or building a hybrid stack that mixes REST, gRPC, and SOAP, Quarkus CXF is a pragmatic choice. It gives you the right abstractions, a familiar programming model, and powerful integration capabilities, all while keeping your Quarkus applications lean and fast.
For full documentation and advanced use cases (like custom interceptors, WS-Security, and more), check out the official docs.