

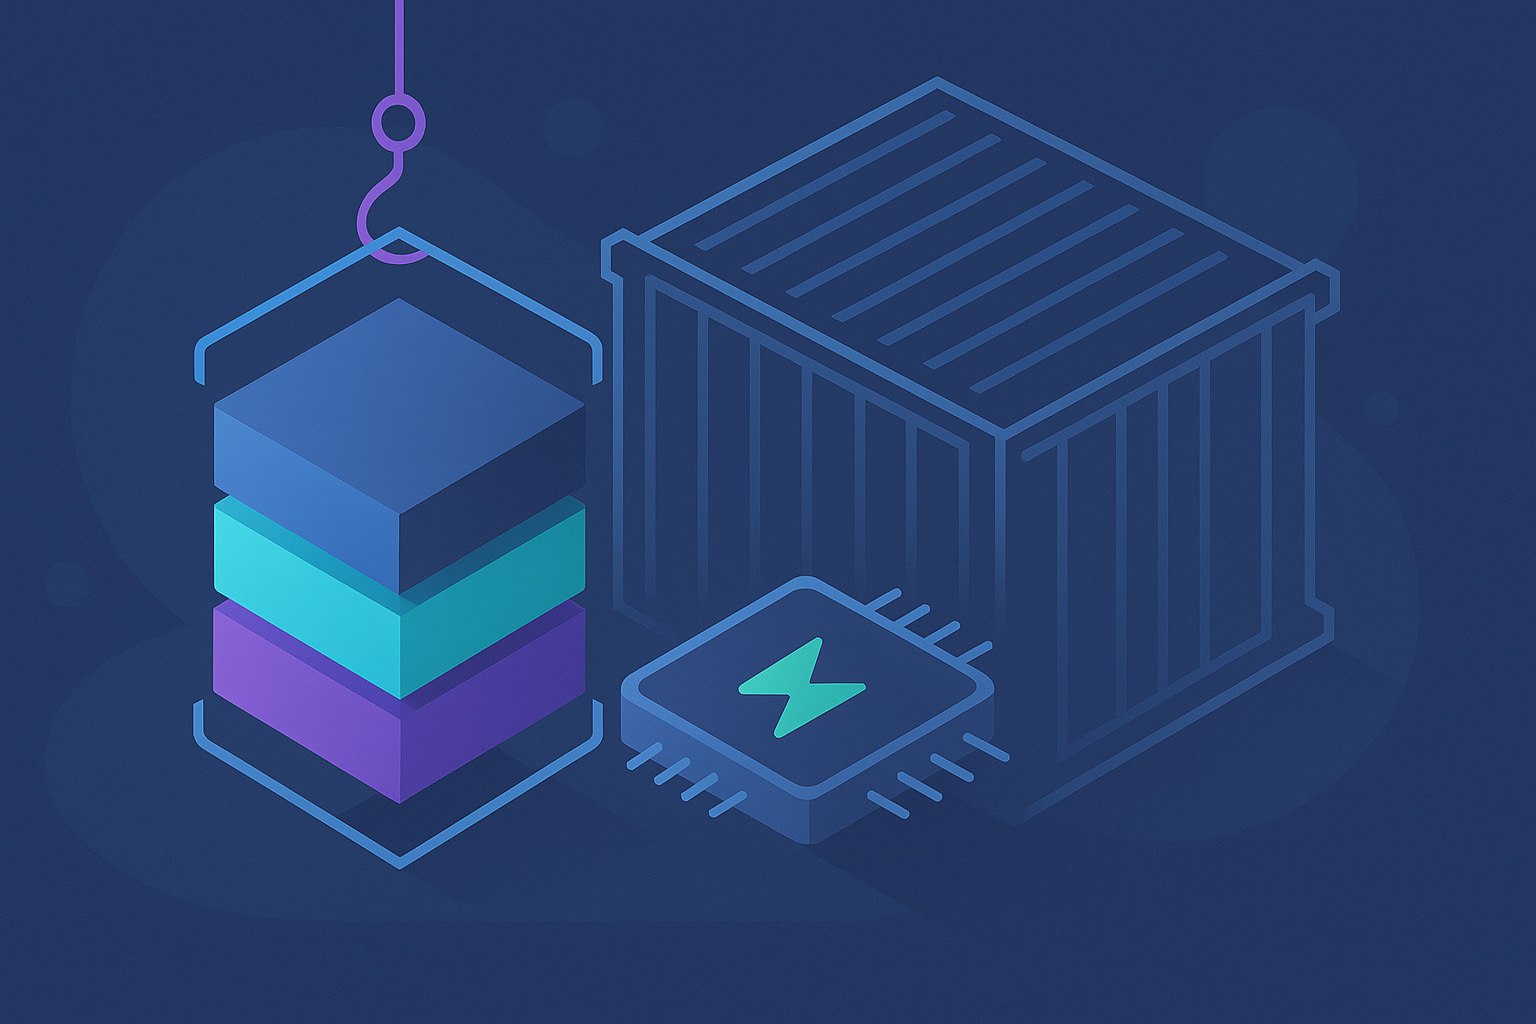
Small and Efficient Containers: Quarkus + Jib + Mandrel for Lightning-Fast Java Apps
Learn how to containerize Quarkus applications with Jib, inspect image layers, and build native executables with Mandrel for instant startup.

Quarkus is a modern, Kubernetes-native Java framework designed for high performance and low memory usage. Jib is a tool from Google that builds optimized Docker and OCI images for Java applications directly from Maven or Gradle, without needing a Dockerfile or even a Docker installation.
Together, Quarkus and Jib give you an efficient workflow for turning your lightwaight Java applications into even lighter containers. In this tutorial, you’ll build both a JVM-based container image and a blazing-fast native executable using Mandrel.
Prerequisites
Make sure you have:
JDK 17+ (Quarkus 3 requires at least Java 17)
Apache Maven 3.8.1+
A container runtime such as Podman or Docker
An IDE like IntelliJ, VS Code, or Eclipse
Bootstrap a New Quarkus Project
Generate a new Quarkus project with the Jib extension:
mvn io.quarkus.platform:quarkus-maven-plugin:create \
    -DprojectGroupId=org.acme \
    -DprojectArtifactId=jib-tutorial \
    -DclassName="org.acme.GreetingResource" \
    -Dpath="/hello" \
    -Dextensions="rest-jackson,quarkus-container-image-jib"
cd jib-tutorial
This creates a project named jib-tutorial with:
REST Jackson for a simple REST endpoint
quarkus-container-image-jib for Jib integration
Verify the REST Endpoint
The project created a simple "Hello" endpoint for us. Let's take a quick look. Open the file src/main/java/org/acme/GreetingResource.java. It should look like this:
package org.acme;

import jakarta.ws.rs.GET;
import jakarta.ws.rs.Path;
import jakarta.ws.rs.Produces;
import jakarta.ws.rs.core.MediaType;

@Path("/hello")
public class GreetingResource {

    @GET
    @Produces(MediaType.TEXT_PLAIN)
    public String hello() {
        return "Hello from Quarkus REST";
    }
}
As this scaffolded source is the only code we need, I don’t even pushed this to Github this time. So make sure to just follow along!
Run it in dev mode:
./mvnw quarkus:devVisit http://localhost:8080/hello to see the response.
Configure Jib (Optional)
The quarkus-container-image-jib extension comes with sensible defaults, but you can easily customize the image build. Open the src/main/resources/application.properties file.
You can add properties to configure the image name, tag, or target registry. For this tutorial, let's customize the image name. Add the following lines:
# Jib Configuration
quarkus.container-image.group=your-docker-username
quarkus.container-image.name=quarkus-jib-demo
quarkus.container-image.tag=1.0quarkus.container-image.group: Crucially, changeyour-docker-usernameto your Docker Hub username or the group/namespace of your container registry. If you're just building to a local Docker daemon, you can omit this line.quarkus.container-image.name: Sets the name of our image.quarkus.container-image.tag: Sets the version tag.
Without these properties, Quarkus would default to using the project's groupId, artifactId, and version from the pom.xml.
Build the JVM Container Image
Building the image is just a regular part of your Maven build cycle. Run the following command in your terminal:
./mvnw clean package -Dquarkus.container-image.build=trueThe key here is the property -Dquarkus.container-image.build=true. This tells Quarkus to activate the Jib extension and build the container image.
You will see output from Jib as it assembles the layers and builds the image. Notice that it doesn't use a Docker daemon for this process. It creates the image layers and pushes them directly to a registry or your local Docker daemon. By default, Jib will try to build to your local Docker daemon.
If the build is successful, you'll see a message like:
[INFO] [io.quarkus.container.image.jib.deployment.JibProcessor] Created container image your-docker-username/jib-tutorial:1.0.0-SNAPSHOT (sha256:a47770ef2ae0069845daa8c078f14baf8a125652dc5be9968a0d031d58a357c3)

[INFO] [io.quarkus.deployment.QuarkusAugmentor] Quarkus augmentation completed in 11667ms
Run the Container
Check the local images:
podman images # or docker imagesRun your container:
podman run -i --rm -p 8080:8080 your-docker-username/quarkus-jib-demo:1.0The container will start up almost instantly: That's the power of Quarkus! You'll see the Quarkus startup logs in your terminal. Now, open a new terminal or your web browser and access the endpoint:
curl http://localhost:8080/helloInspect the Layers
One of Jib's most powerful features is how it intelligently structures your image layers. Unlike a traditional Dockerfile that might put all your application code into a single layer, Jib separates your application into multiple layers based on how often they change:
Dependencies: Libraries that change infrequently.
Resources: Files like
application.propertiesthat might change more often.Classes: Your own compiled
.classfiles, which change with every code modification.
This separation is crucial for build efficiency. When you change your code, only the small "classes" layer needs to be rebuilt and pushed, making subsequent builds incredibly fast.
A fantastic tool for exploring layers is dive. After installing it, you can inspect your newly built image with this command:
Install dive to explore the layers. You can use brew install dive on MacOs.
dive your-docker-username/quarkus-jib-demo:1.0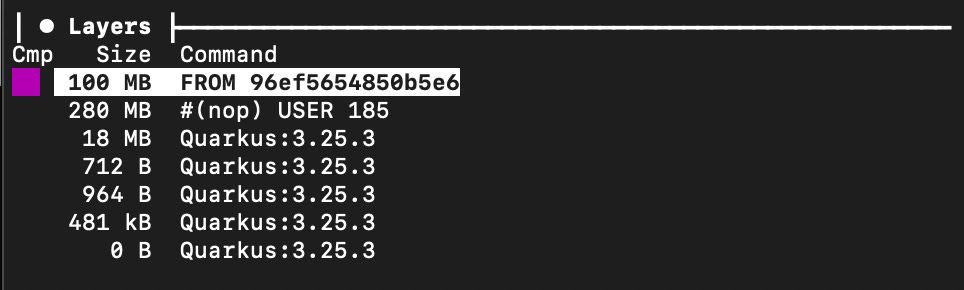
In the dive UI, you can navigate the layers on the left panel and see the contents of each layer in the right panel. You will clearly see the distinct layers Jib created.
By exploring with dive, you can visually confirm how Jib optimizes your image for faster builds and deployments.
Build a Native Executable with Mandrel
Now, let's take performance to the next level by compiling our application into a native executable. We'll use Mandrel, a downstream distribution of GraalVM tailored for Quarkus. Native executables offer incredibly fast startup times and a much smaller memory footprint.
Install and use Mandrel
There are two ways you can build a native executable with Quarkus. One involves installing Mandrel locally. You can find instructions on the release page. The simplest method however, is using containerized builds which uses a pre-build container image for the build locally without the need to install anything:
./mvnw package -Pnative -Dquarkus.native.container-build=true -Dquarkus.container-image.build=trueWhat happens here:
-Pnative: Enables the native build profile-Dquarkus.native.container-build=true: Runs the native build inside a container-Dquarkus.container-image.build=true:Runs the container build for the native executable
This process will take a few minutes as it involves Ahead-Of-Time (AOT) compilation of the entire application.
Run the Native Container
List images again and find the new image:
podman imagesIf you compare the sizes of the JVM and the Native image you can see the difference. Less than 1/4th of the original size:
jib-tutorial 1.0.0-SNAPSHOT 0a383caa34e6 … 406 MB

jib-tutorial 1.0.0-SNAPSHOT b3351152d430 .. 78.7 MB
Run it:
podman run -i --rm -p 8080:8080 your-docker-username/quarkus-jib-demo:1.0Startup will complete in milliseconds. Confirm it works:
curl http://localhost:8080/helloConclusion
Congratulations! You've successfully containerized a Quarkus application using Jib, inspected its layers, and then supercharged it by compiling it to a native executable with Mandrel.
Recap of what you learned:
How to add the Jib extension to a Quarkus project.
The Maven command to trigger a JVM-based image build with Jib.
How to inspect the image layers to understand Jib's optimization strategy.
How to use the Quarkus Mandrel (GraalVM) builder image for native compilation.
How to build a native executable and package it into a minimal, lightning-fast container.
This workflow produces cloud-ready images that are fast to build, small to ship, and instant to start.
The next step? Push your images to a registry and deploy them to Kubernetes or OpenShift.