

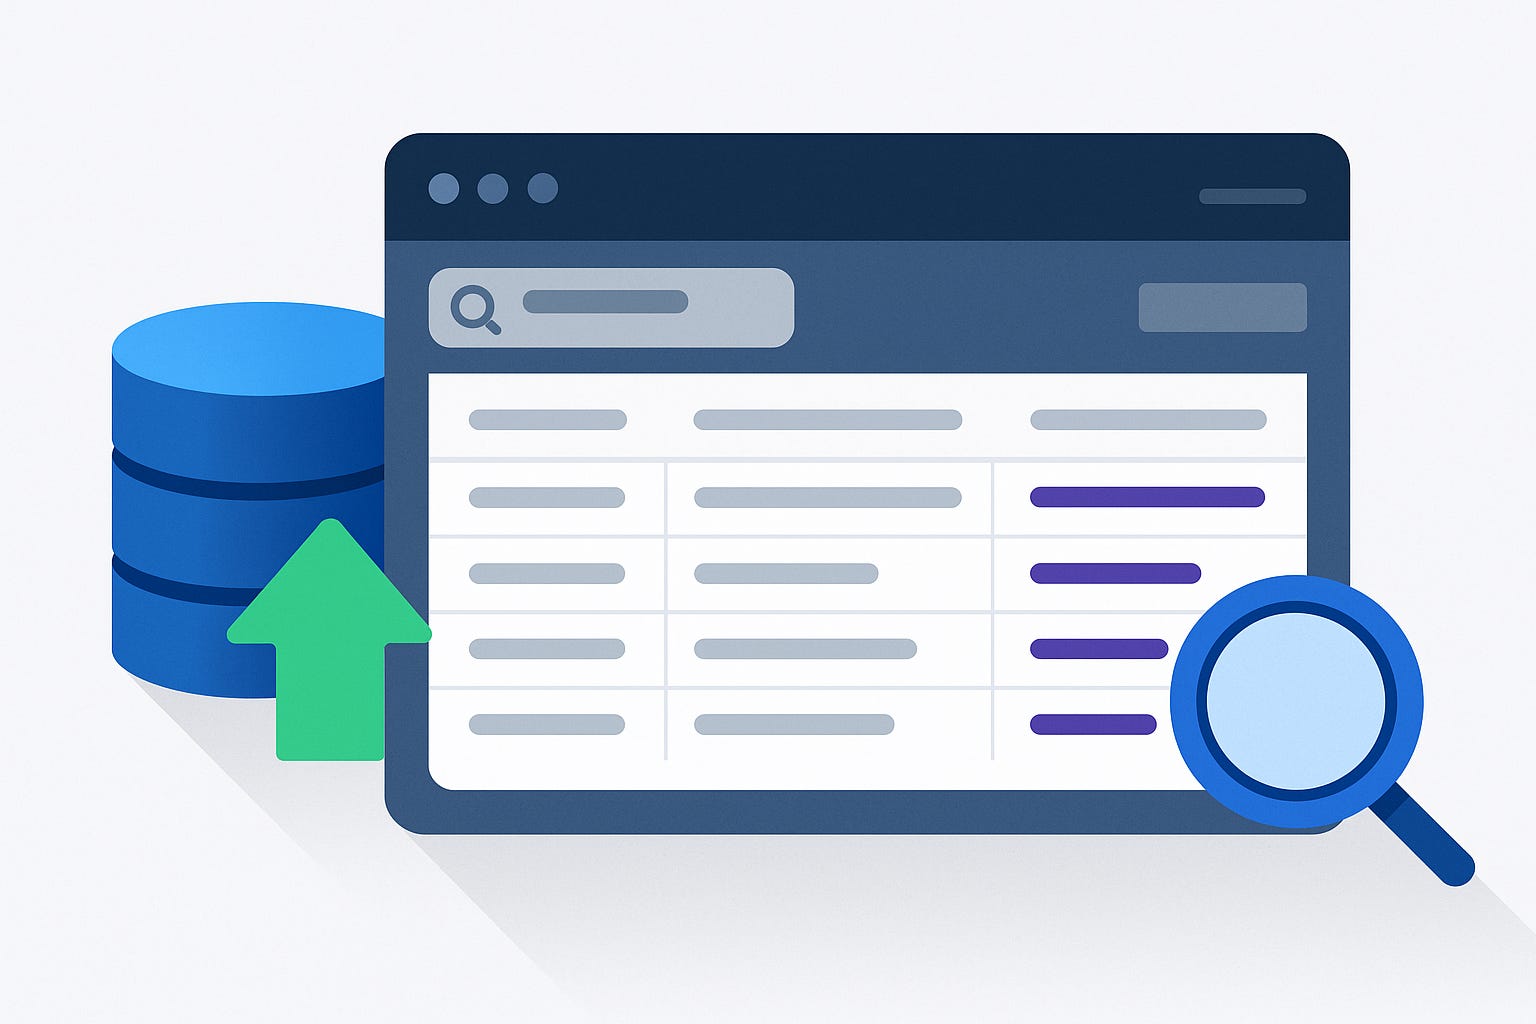
Build a Beautiful PrimeVue Table Backed by Quarkus and Panache
Serve data from a Java backend and render it with a filterable, sortable Vue 3 table with no frontend build tools required.

Quarkus makes it easy to build data-driven web applications with Java. But what if you want a clean, filterable UI without pulling in a full JavaScript build toolchain?
In this hands-on tutorial, you’ll build a complete full-stack app that uses:
A Quarkus backend with REST endpoints and Hibernate ORM with Panache for data access
An in-memory H2 database with preloaded data
A Vue 3 frontend served directly from Quarkus, using PrimeVue’s CDN version for a modern table UI
By the end, you’ll have a working application with a beautiful, interactive table that pulls its data from your Quarkus API.
Prerequisites
To follow along, make sure you have:
JDK 17 or newer
Apache Maven 3.8+
Your favorite Java IDE (IntelliJ IDEA, VS Code, etc.)
Create the Quarkus Project
Let’s generate a new Quarkus project using Maven. We’ll include RESTEasy Reactive for exposing HTTP endpoints, Hibernate ORM with Panache for database access, and JDBC H2 for a lightweight in-memory database.
mvn io.quarkus.platform:quarkus-maven-plugin:create \
    -DprojectGroupId=org.acme \
    -DprojectArtifactId=panache-primevue-tutorial \
    -DclassName="org.acme.revenue.RevenueResource" \
    -Dpath="/api/revenue" \
    -Dextensions="rest-jackson,hibernate-orm-panache,jdbc-h2"
cd panache-primevue-tutorial
This command scaffolds the directory and structure for a full Quarkus project, ready for development.
And you can get straight to the working example by cloning this Github repository. Make sure to leave a star while you do that :)
Define the MonthlyRevenue Entity
Panache makes defining your database model extremely simple. Let’s create a single entity to represent monthly revenue data.
Create a new file:
src/main/java/org/acme/revenue/MonthlyRevenue.java
package org.acme.revenue;

import io.quarkus.hibernate.orm.panache.PanacheEntity;
import jakarta.persistence.Entity;

@Entity
public class MonthlyRevenue extends PanacheEntity {
    public String period; // e.g. "2025-01"
    public double revenue;
}
Extending PanacheEntity gives you a primary key field (id) and utility methods like listAll() out of the box. No need for extra repositories.
Load Sample Data into the Database
Quarkus automatically runs import.sql on application startup, allowing you to preload sample data.
Create a file:
src/main/resources/import.sql
Add the following SQL:
INSERT INTO MonthlyRevenue(id, period, revenue) VALUES (nextval('MonthlyRevenue_SEQ'), '2025-01', 150400.50);
INSERT INTO MonthlyRevenue(id, period, revenue) VALUES (nextval('MonthlyRevenue_SEQ'), '2025-02', 175250.75);
INSERT INTO MonthlyRevenue(id, period, revenue) VALUES (nextval('MonthlyRevenue_SEQ'), '2025-03', 210100.00);
INSERT INTO MonthlyRevenue(id, period, revenue) VALUES (nextval('MonthlyRevenue_SEQ'), '2025-04', 190800.20);
INSERT INTO MonthlyRevenue(id, period, revenue) VALUES (nextval('MonthlyRevenue_SEQ'), '2025-05', 225500.90);
INSERT INTO MonthlyRevenue(id, period, revenue) VALUES (nextval('MonthlyRevenue_SEQ'), '2025-06', 240300.00);
Panache will create the table schema automatically using Hibernate, so you don't need to define it manually.
Expose a REST API Endpoint
Quarkus already generated a resource class when you created the project. Let’s update it to return our revenue data.
Open src/main/java/org/acme/revenue/RevenueResource.java and replace its contents with:
package org.acme.revenue;

import java.util.List;

import io.quarkus.panache.common.Sort;
import jakarta.ws.rs.GET;
import jakarta.ws.rs.Path;
import jakarta.ws.rs.Produces;
import jakarta.ws.rs.core.MediaType;

@Path("/api/revenue")
@Produces(MediaType.APPLICATION_JSON)
public class RevenueResource {

    @GET
    public List<MonthlyRevenue> getAll() {
        // Use Panache's listAll method to fetch all records, sorted by period
        return MonthlyRevenue.listAll(Sort.by("period"));
    }
}
You now have a working backend that serves JSON data at /api/revenue.
Start your application
./mvnw quarkus:devTry it with:
curl http://localhost:8080/api/revenueAnd you’ll see the data:
[
  {
    "id": 1,
    "period": "2025-01",
    "revenue": 150400.5
  }, ...
]
Step 5: Build a PrimeVue Frontend (No Build Tools Required)
One of the best features of Quarkus is its ability to serve static web content directly from src/main/resources/META-INF/resources. We'll use this to host our frontend. Create the file:
src/main/resources/META-INF/resources/index.html
Paste the following complete HTML+Vue3+PrimeVue frontend:
<!DOCTYPE html>
<html lang="en">

<head>
    <meta charset="UTF-8">
    <meta name="viewport" content="width=device-width, initial-scale=1.0">
    <title>Quarkus + PrimeVue</title>

    <link href="https://cdn.jsdelivr.net/npm/primeicons@7.0.0/primeicons.css" rel="stylesheet">

    <script src="https://unpkg.com/vue@3/dist/vue.global.js"></script>
    <script src="https://unpkg.com/primevue/umd/primevue.min.js"></script>
    <script src="https://unpkg.com/@primeuix/themes/umd/aura.js"></script>

    <style>
       <!-- omitted -->
    </style>
</head>

<body>

    <div id="app" class="card">
        <h1>Monthly Revenue Report</h1>
        <p>Data served from a Quarkus backend with Hibernate Panache.</p>

        <p-datatable :value="revenues" :paginator="true" :rows="5" sortMode="multiple" v-model:filters="filters"
            filterDisplay="row" :globalFilterFields="['period']">

            <template #header>
                <div style="text-align: left;">
                    <span class="p-input-icon-left">
                        <i class="pi pi-search"></i>
                        <p-inputtext v-model="filters['global'].value" placeholder="Search by Period" />
                    </span>
                </div>
            </template>

            <p-column field="period" header="Period" :sortable="true"></p-column>
            <p-column field="revenue" header="Revenue (USD)" :sortable="true">
                <template #body="slotProps">
                    {{ formatCurrency(slotProps.data.revenue) }}
                </template>
            </p-column>

        </p-datatable>
    </div>

    <script>
        const { createApp, ref, onMounted } = Vue;

        const app = createApp({
            setup() {
                const revenues = ref([]);
                const filters = ref({
                    'global': { value: null, matchMode: 'contains' },
                });

                onMounted(async () => {
                    const response = await fetch('/api/revenue');
                    revenues.value = await response.json();
                });

                const formatCurrency = (value) => {
                    return new Intl.NumberFormat('en-US', {
                        style: 'currency',
                        currency: 'USD',
                    }).format(value);
                };

                return { revenues, filters, formatCurrency };
            }
        });

        app.use(PrimeVue.Config, {
            theme: {
                preset: PrimeUIX.Themes.Aura
            }
        });
        app.component('p-datatable', PrimeVue.DataTable);
        app.component('p-column', PrimeVue.Column);
        app.component('p-inputtext', PrimeVue.InputText);
        app.mount('#app');
    </script>

</body>

</html>
No build tools. No npm. Just paste and go.
View Your Newly Built Frontend
Your Quarkus app is still running in live coding mode. Visit: http://localhost:8080 in your browser.
You should see a fully functional, paginated, sortable, and filterable PrimeVue table with your revenue data.

Where to Go Next
Some ideas to expand this:
Add CRUD operations to the backend (POST/PUT/DELETE)
Add a bar chart using Chart.js
Deploy to Kubernetes
Add paging support the the Hibernate Panache Queries
Want to use real data? Select bigger datasets. Connect a PostgreSQL instance using Quarkus Dev Services and Hibernate ORM.
Let Quarkus handle the Java backend, and let PrimeVue make your UI beautiful.